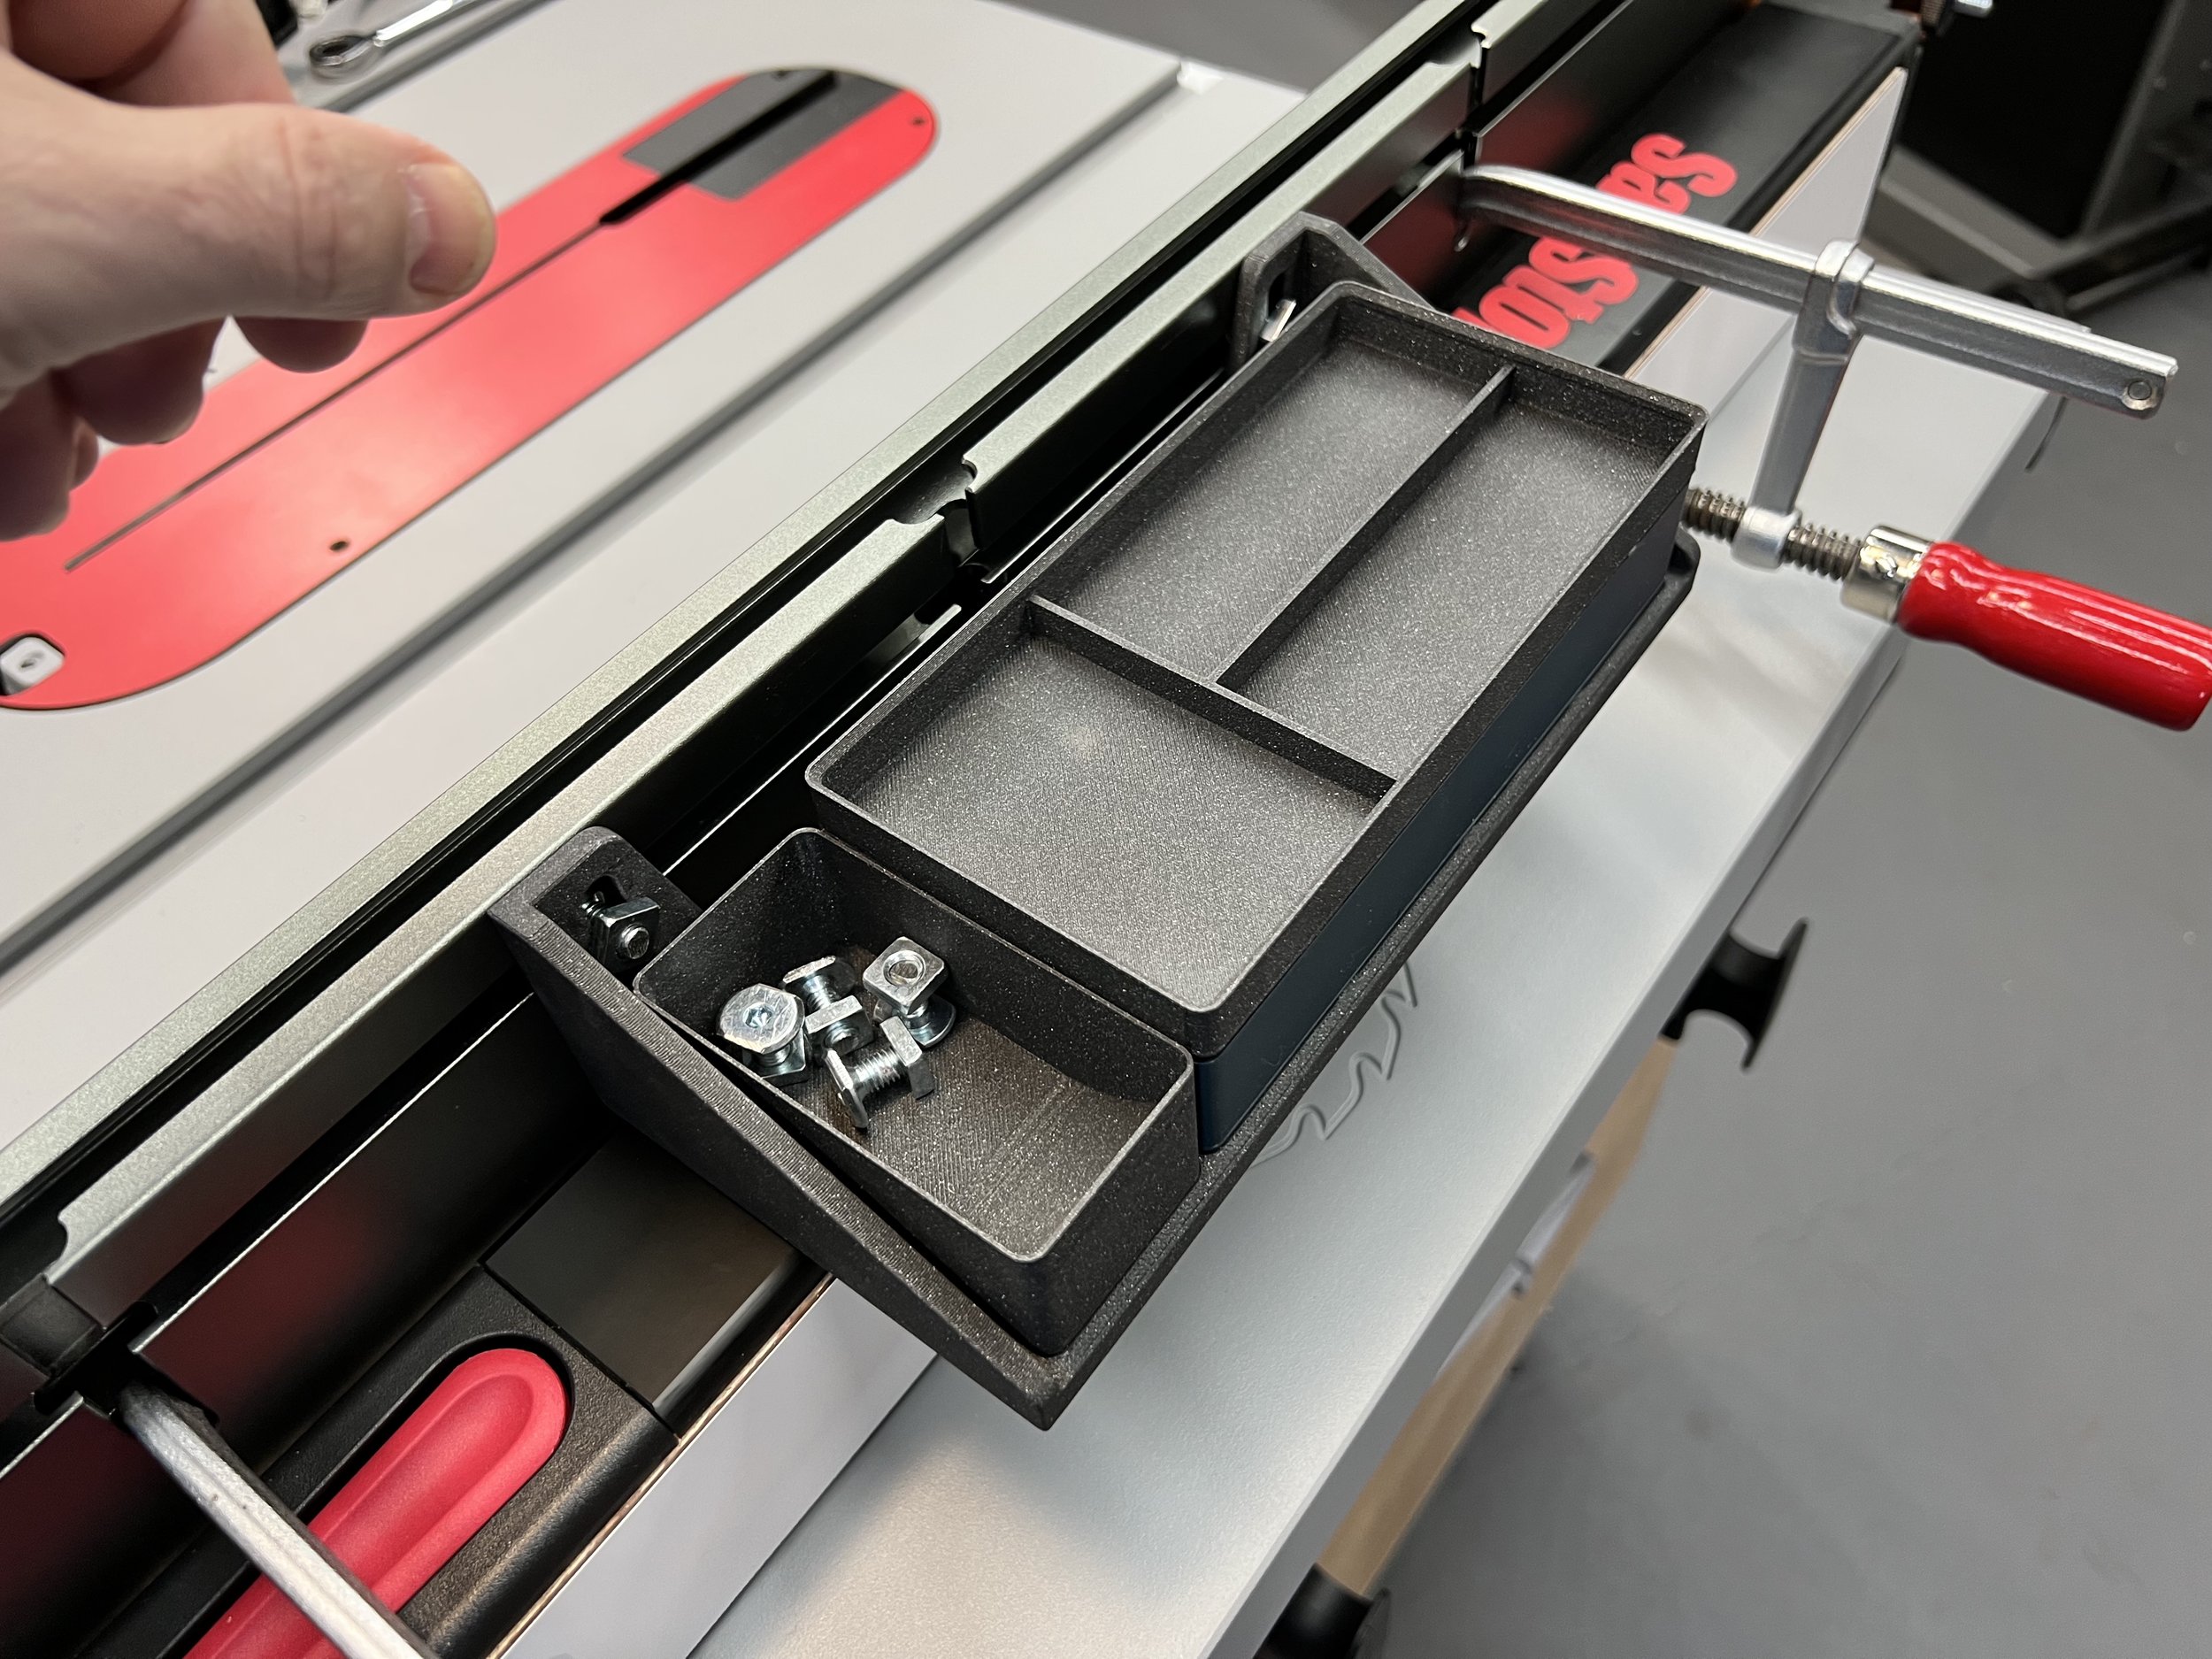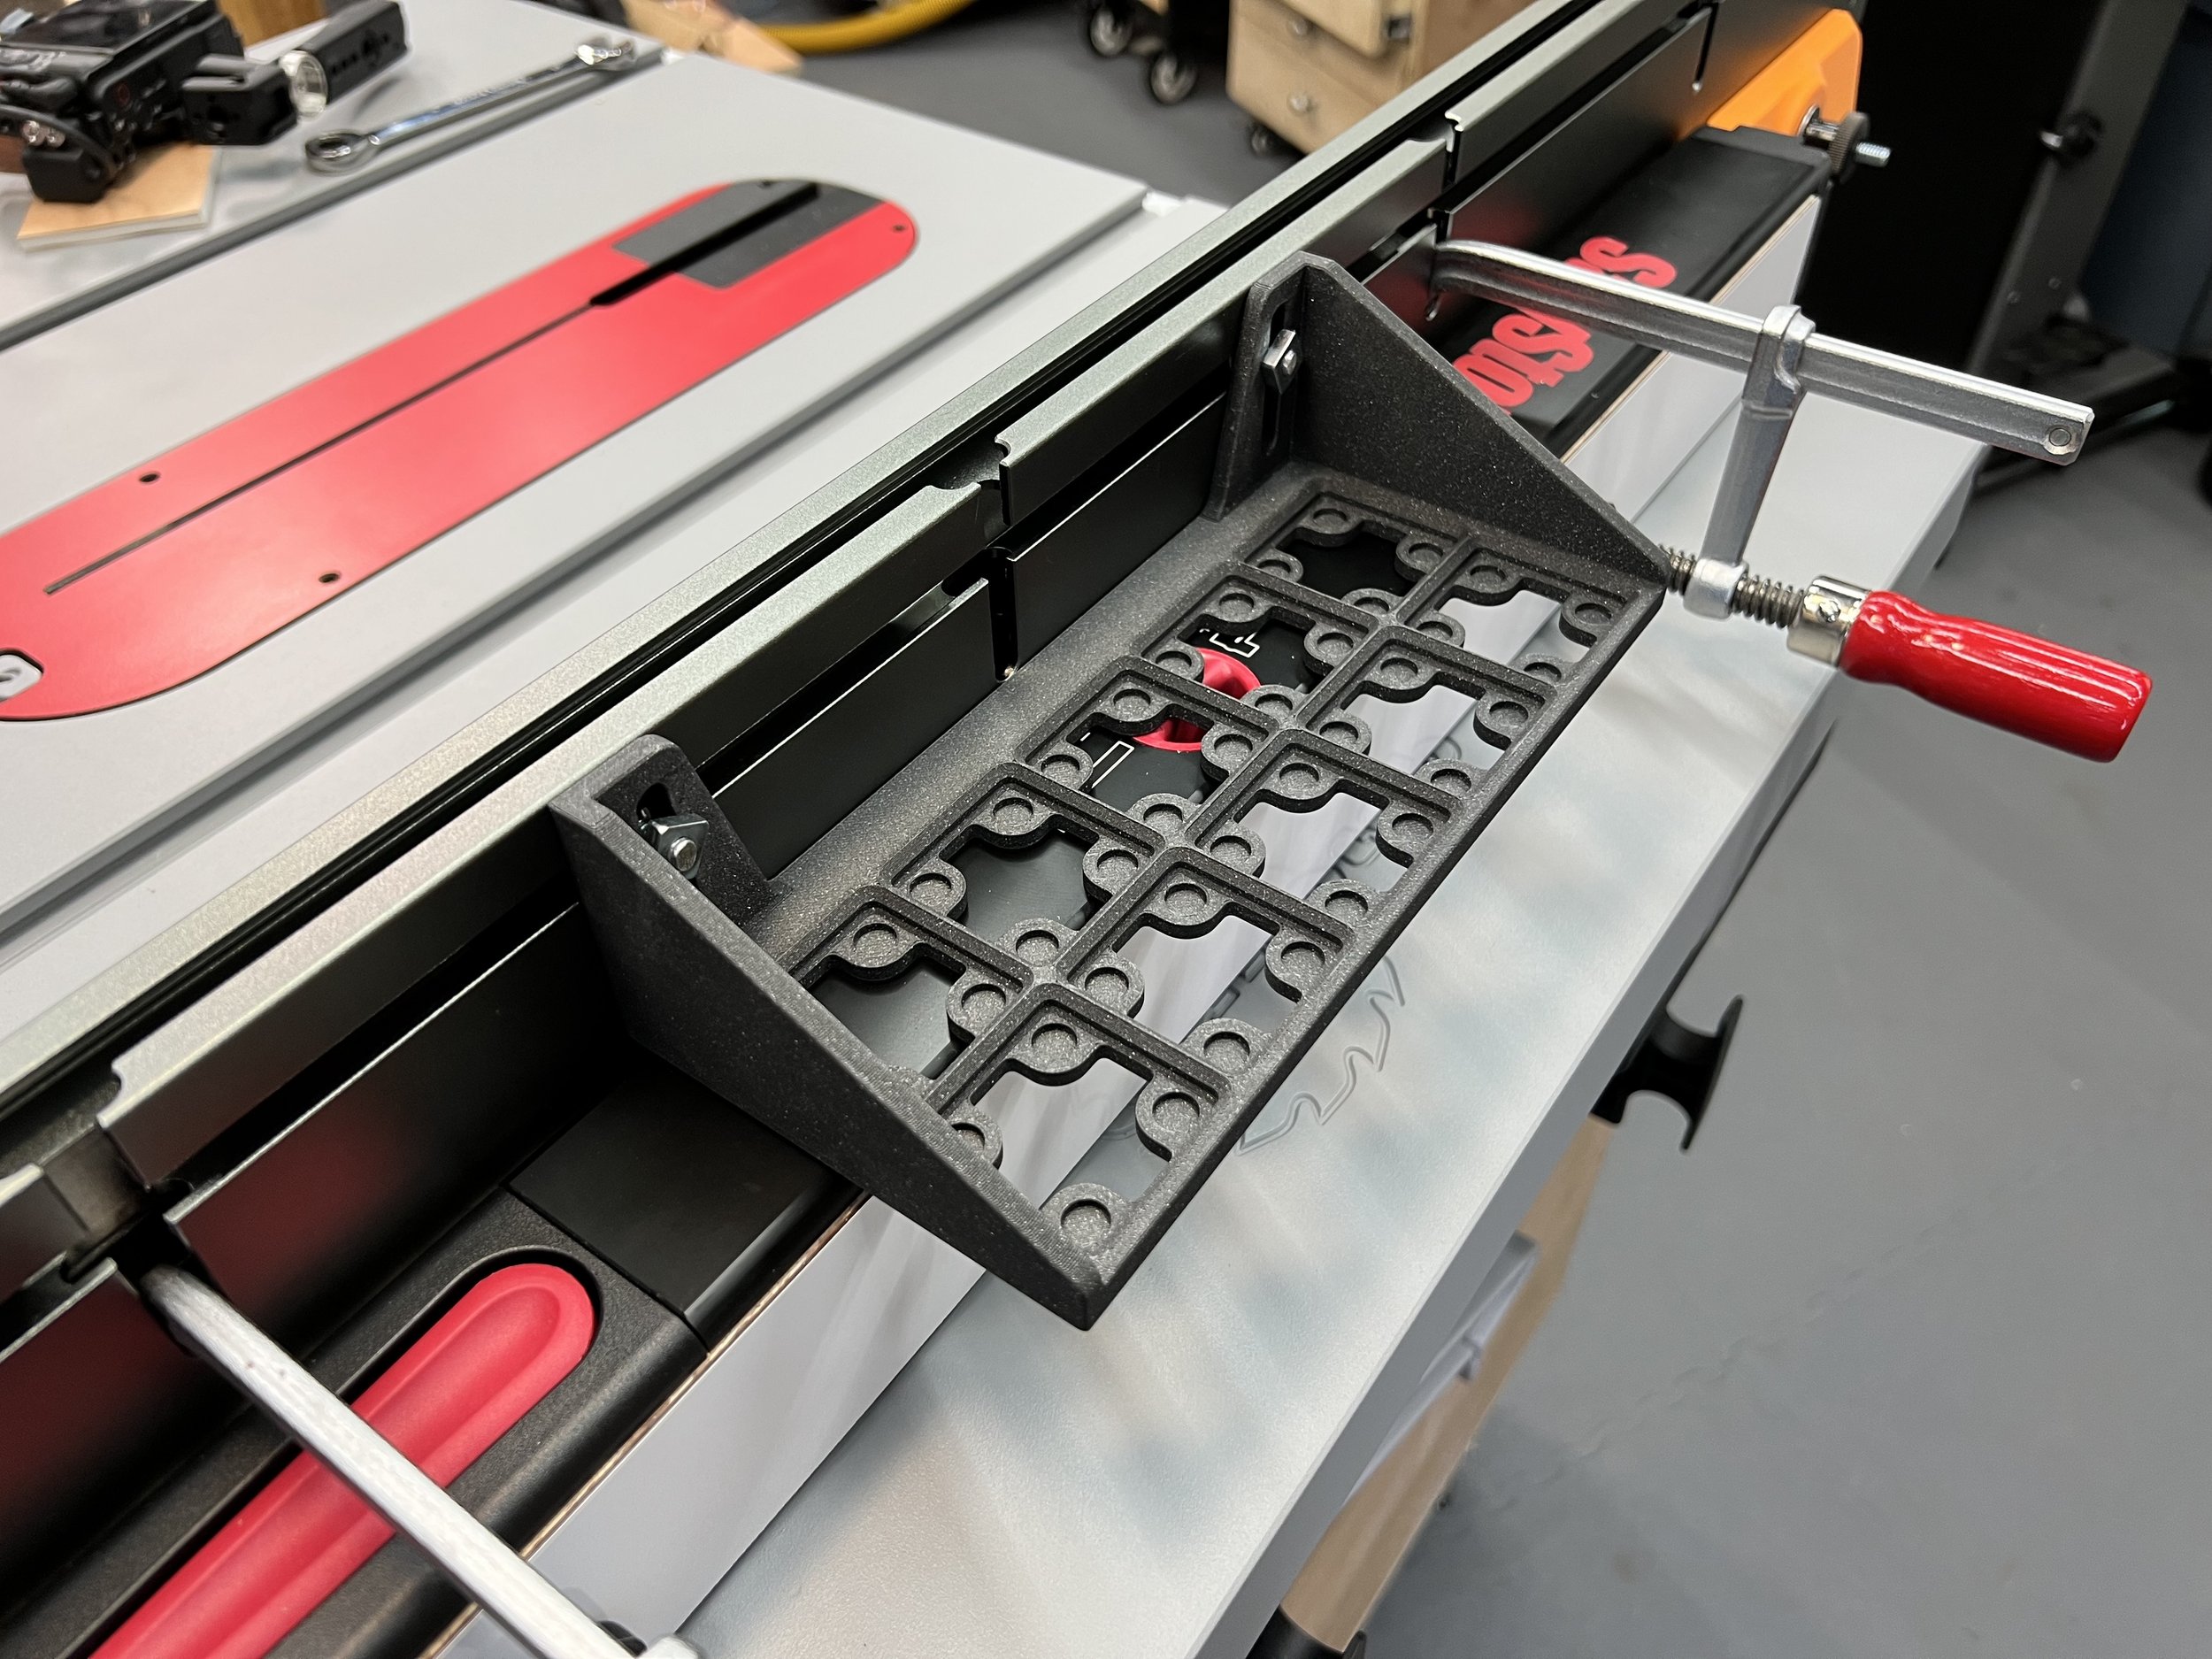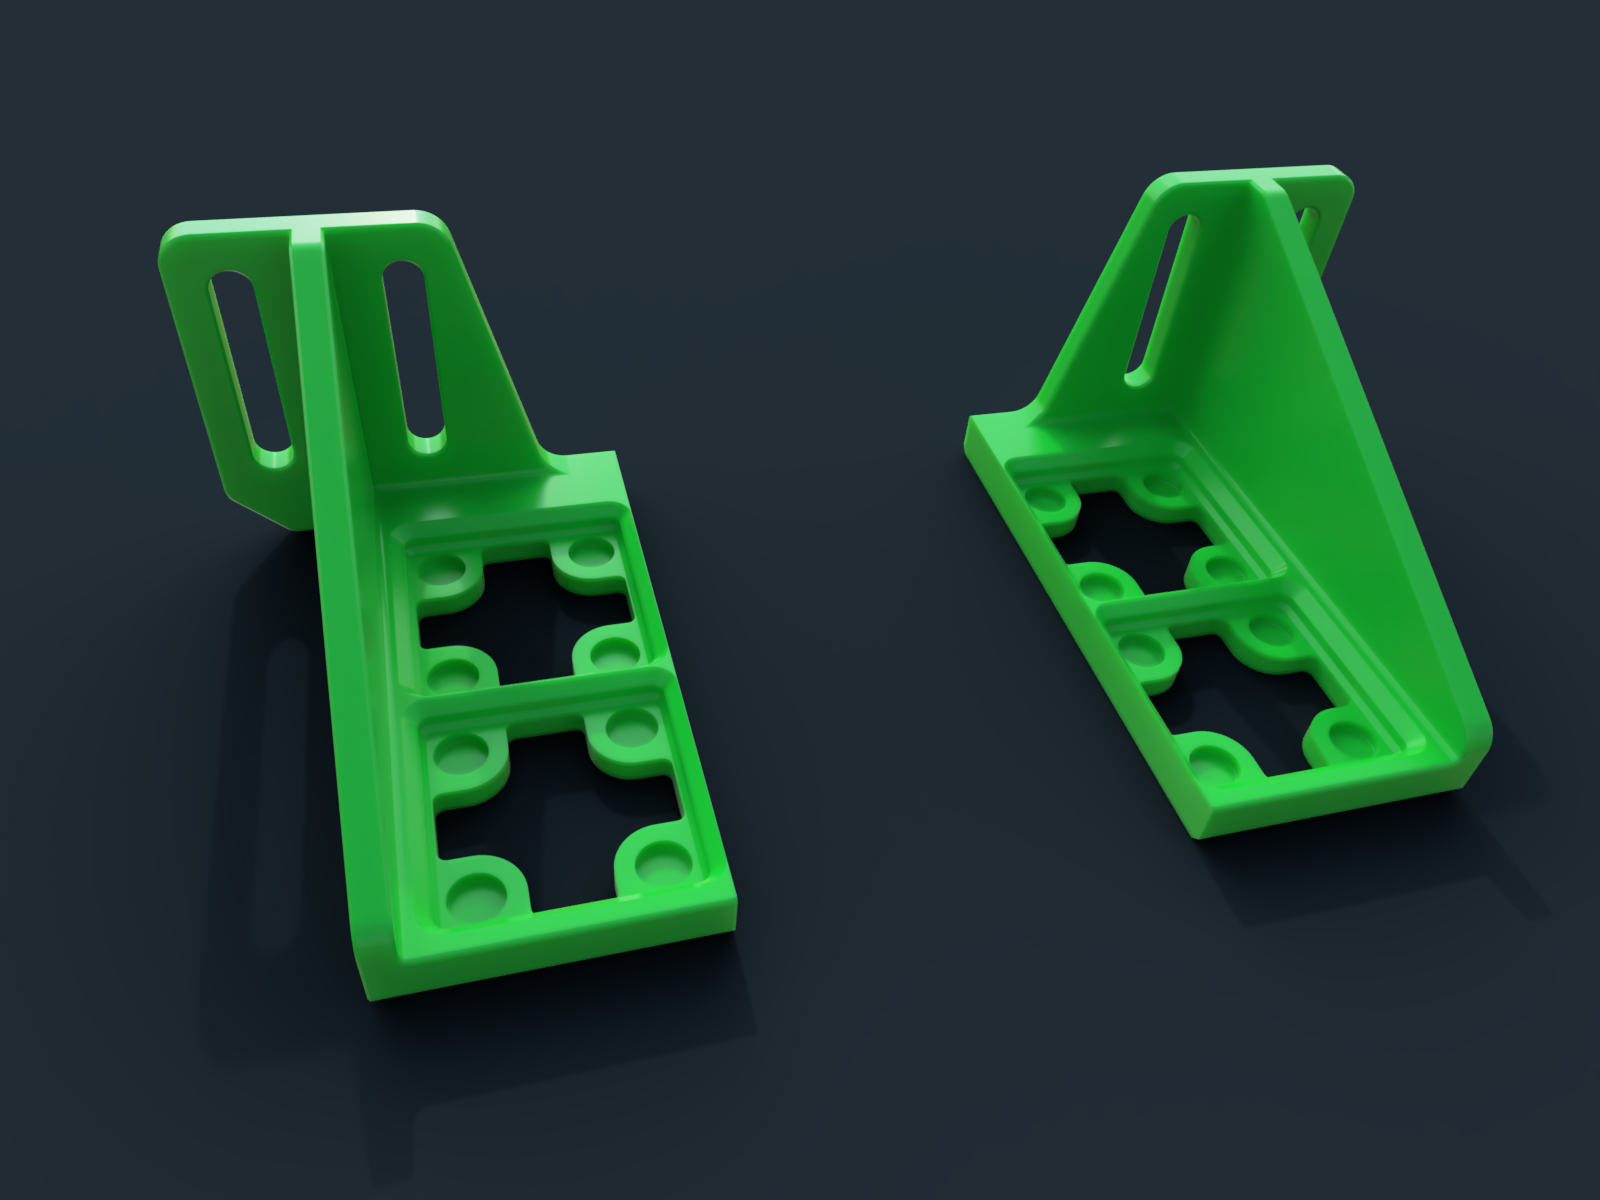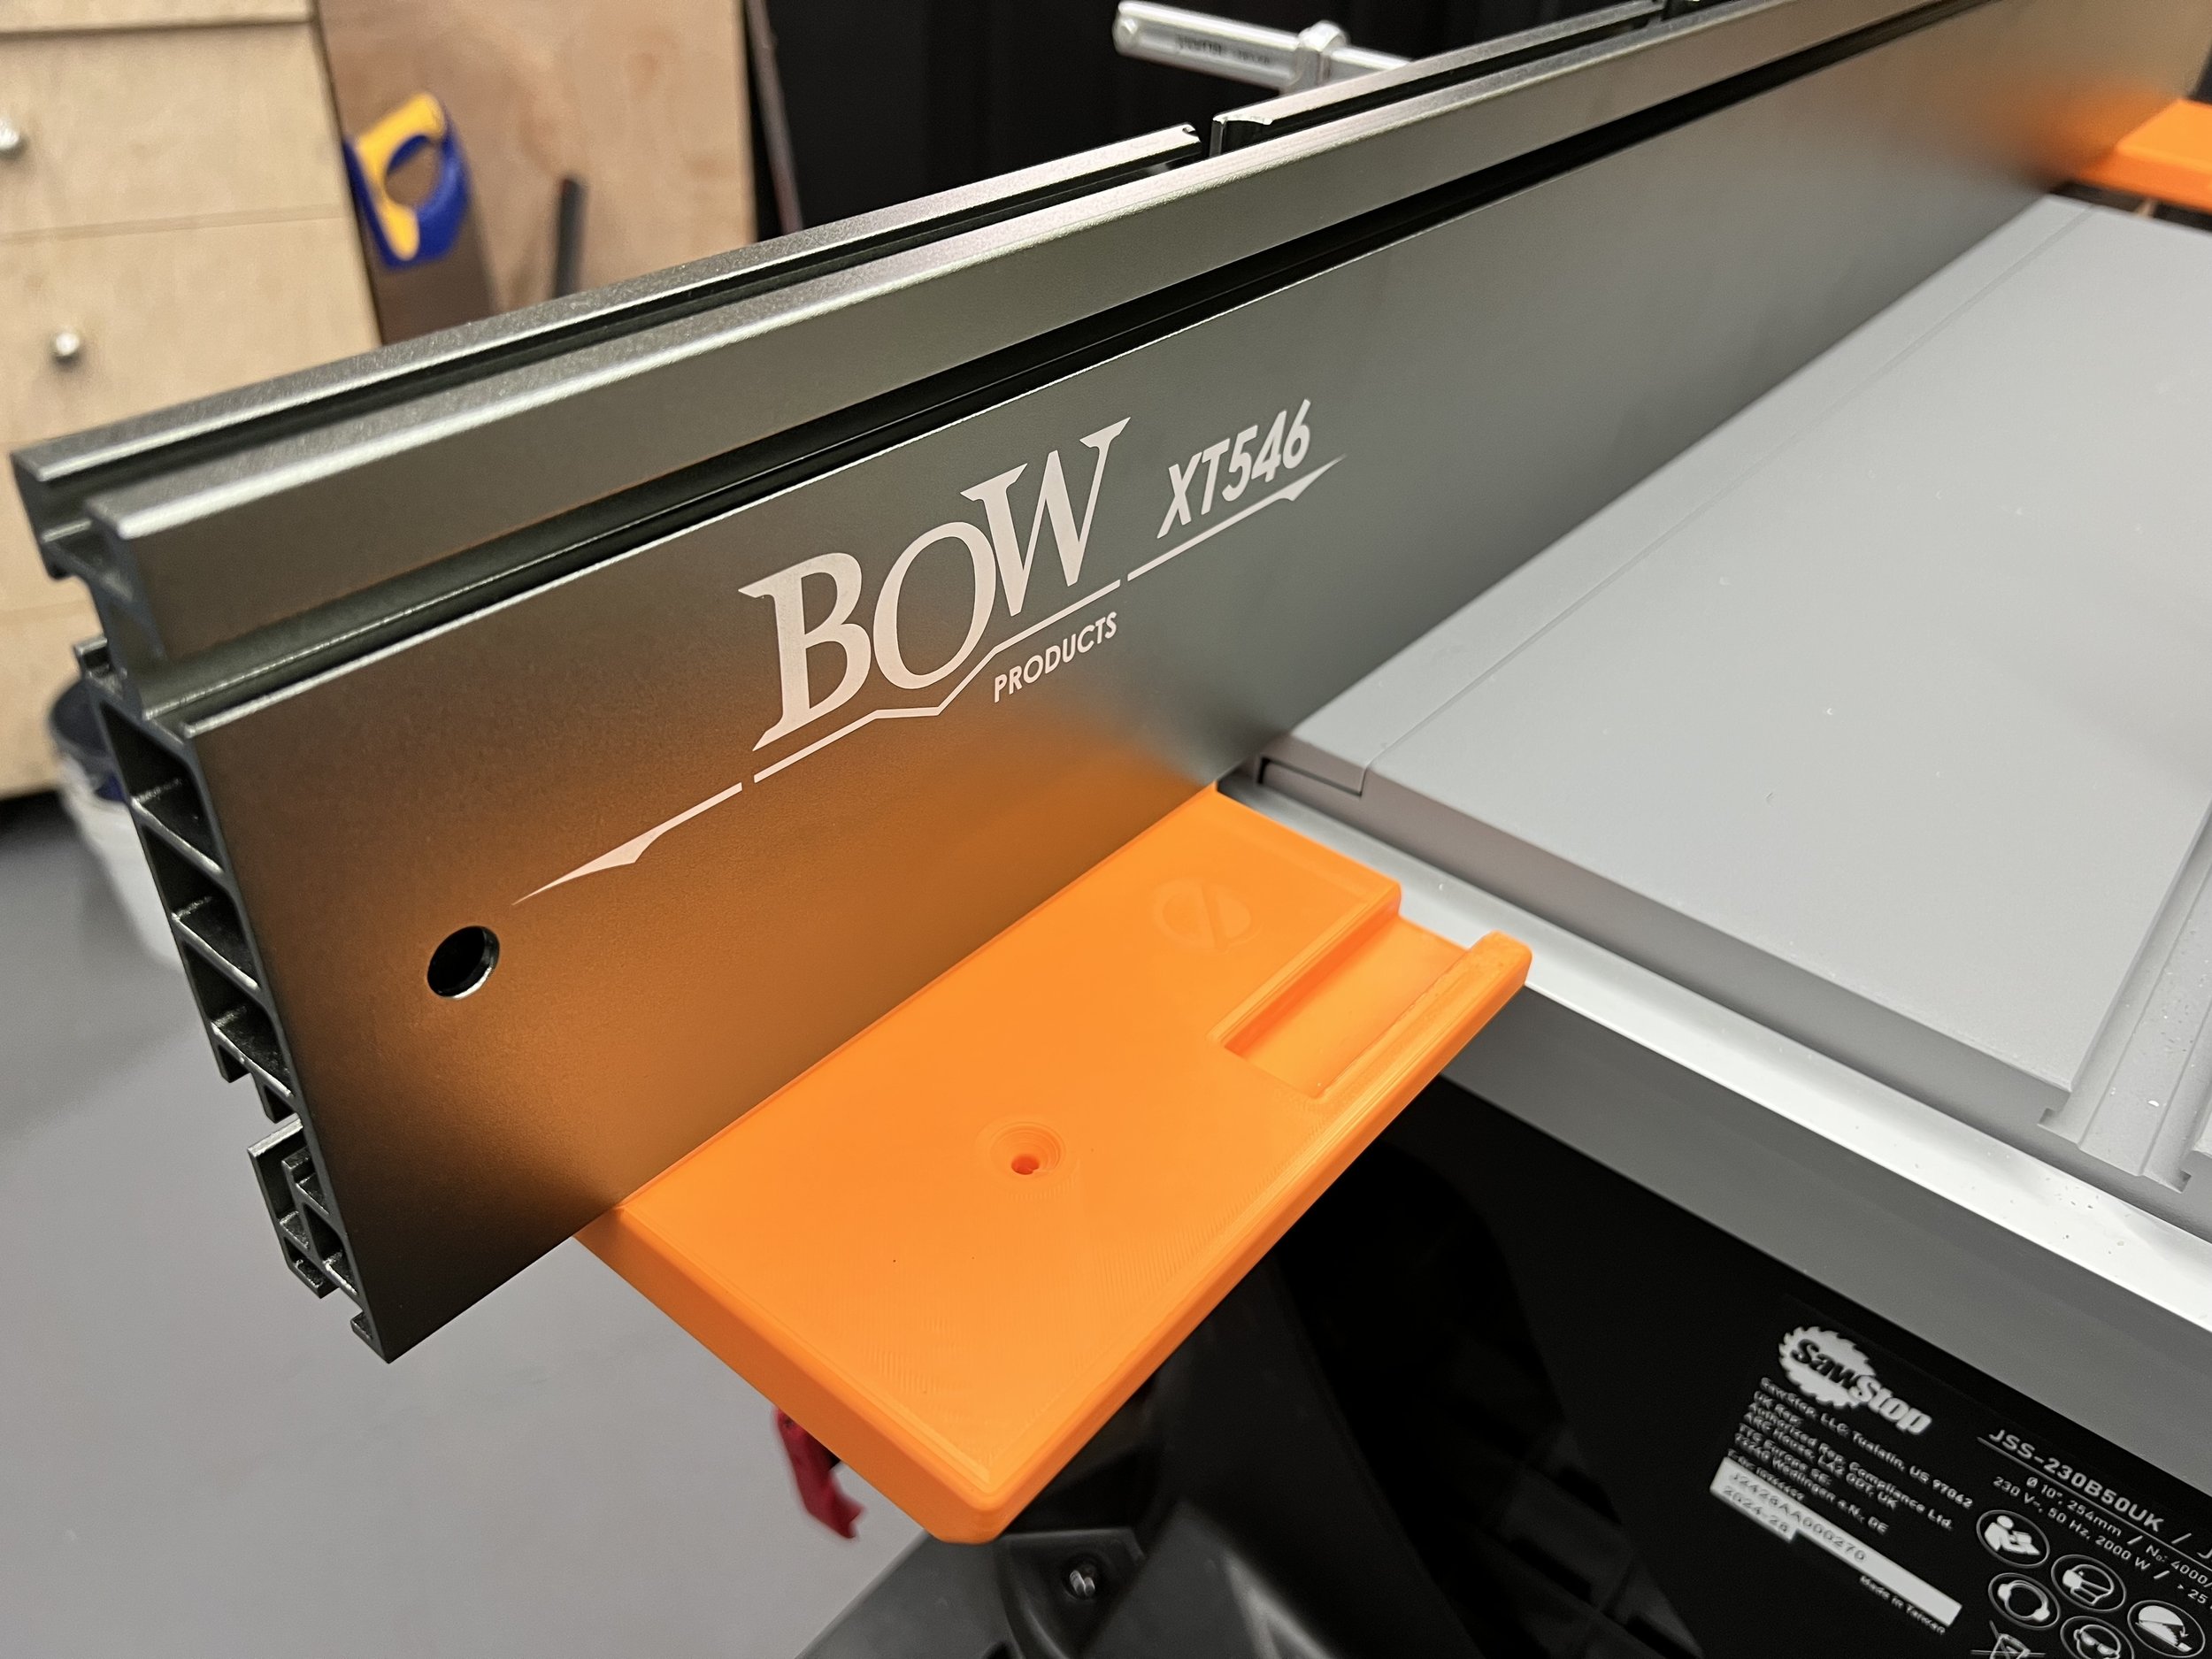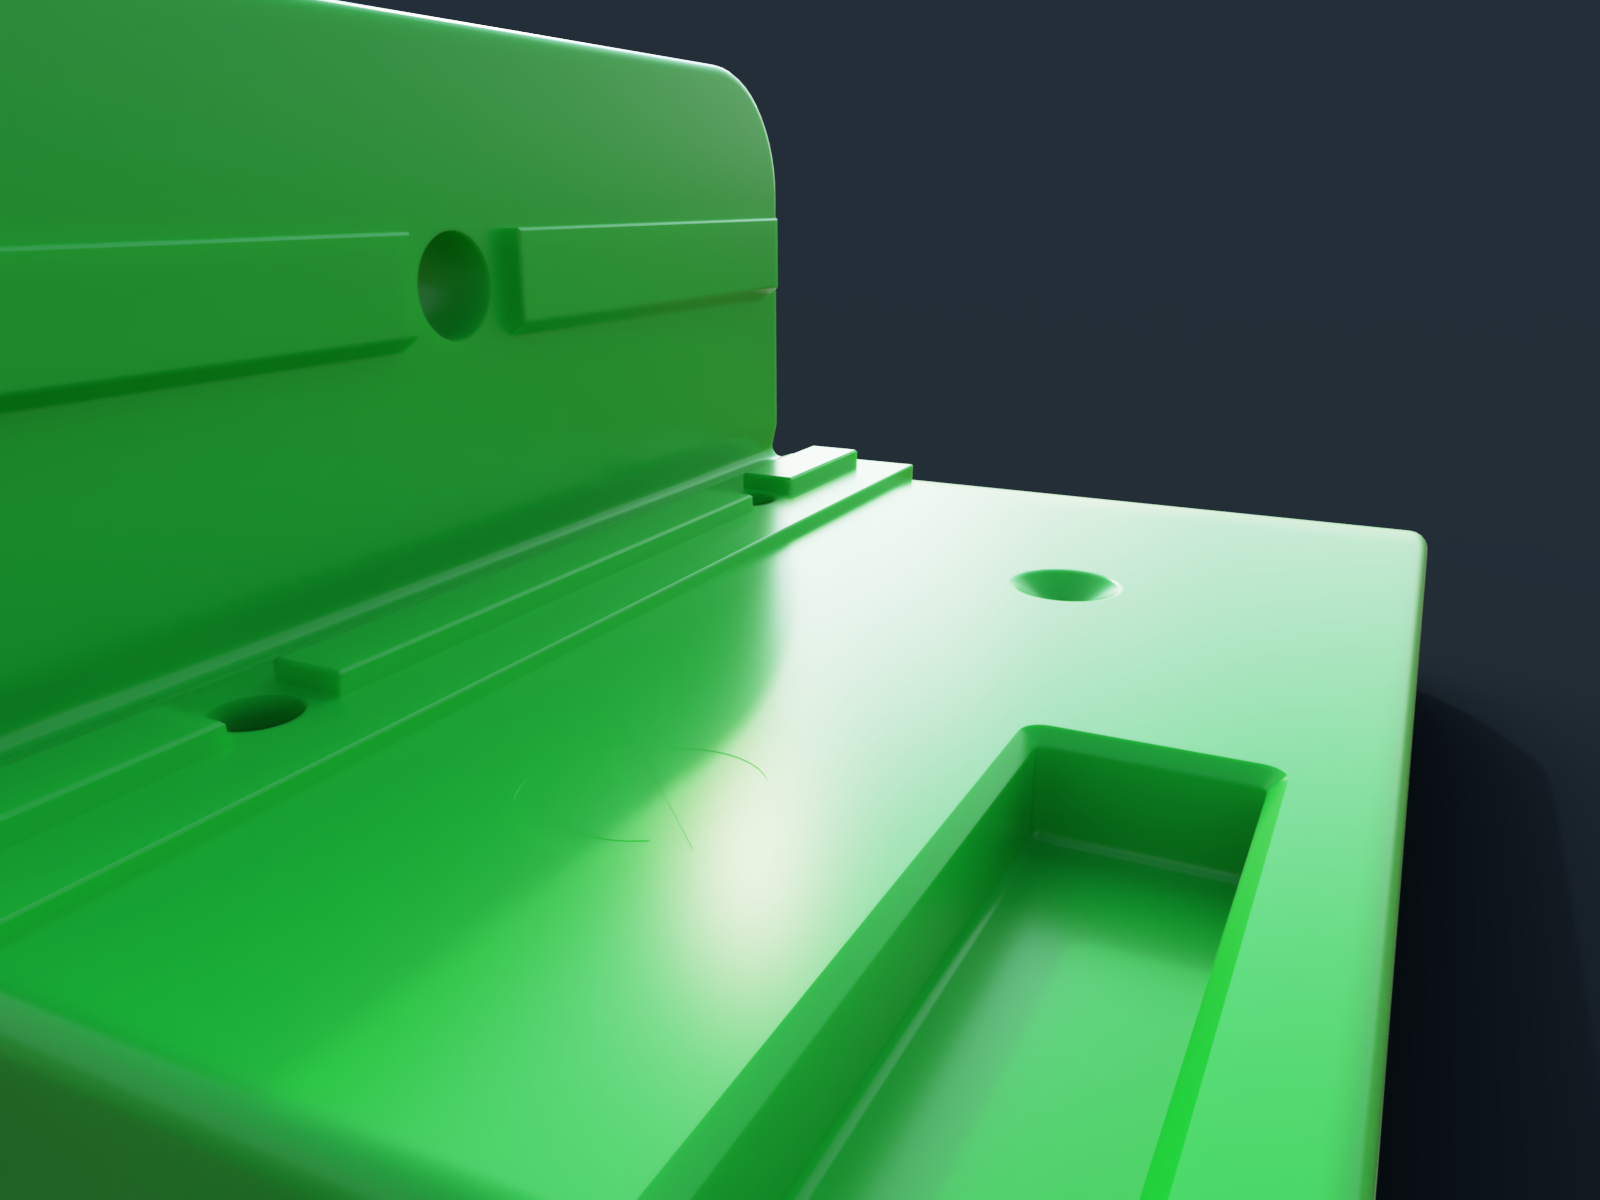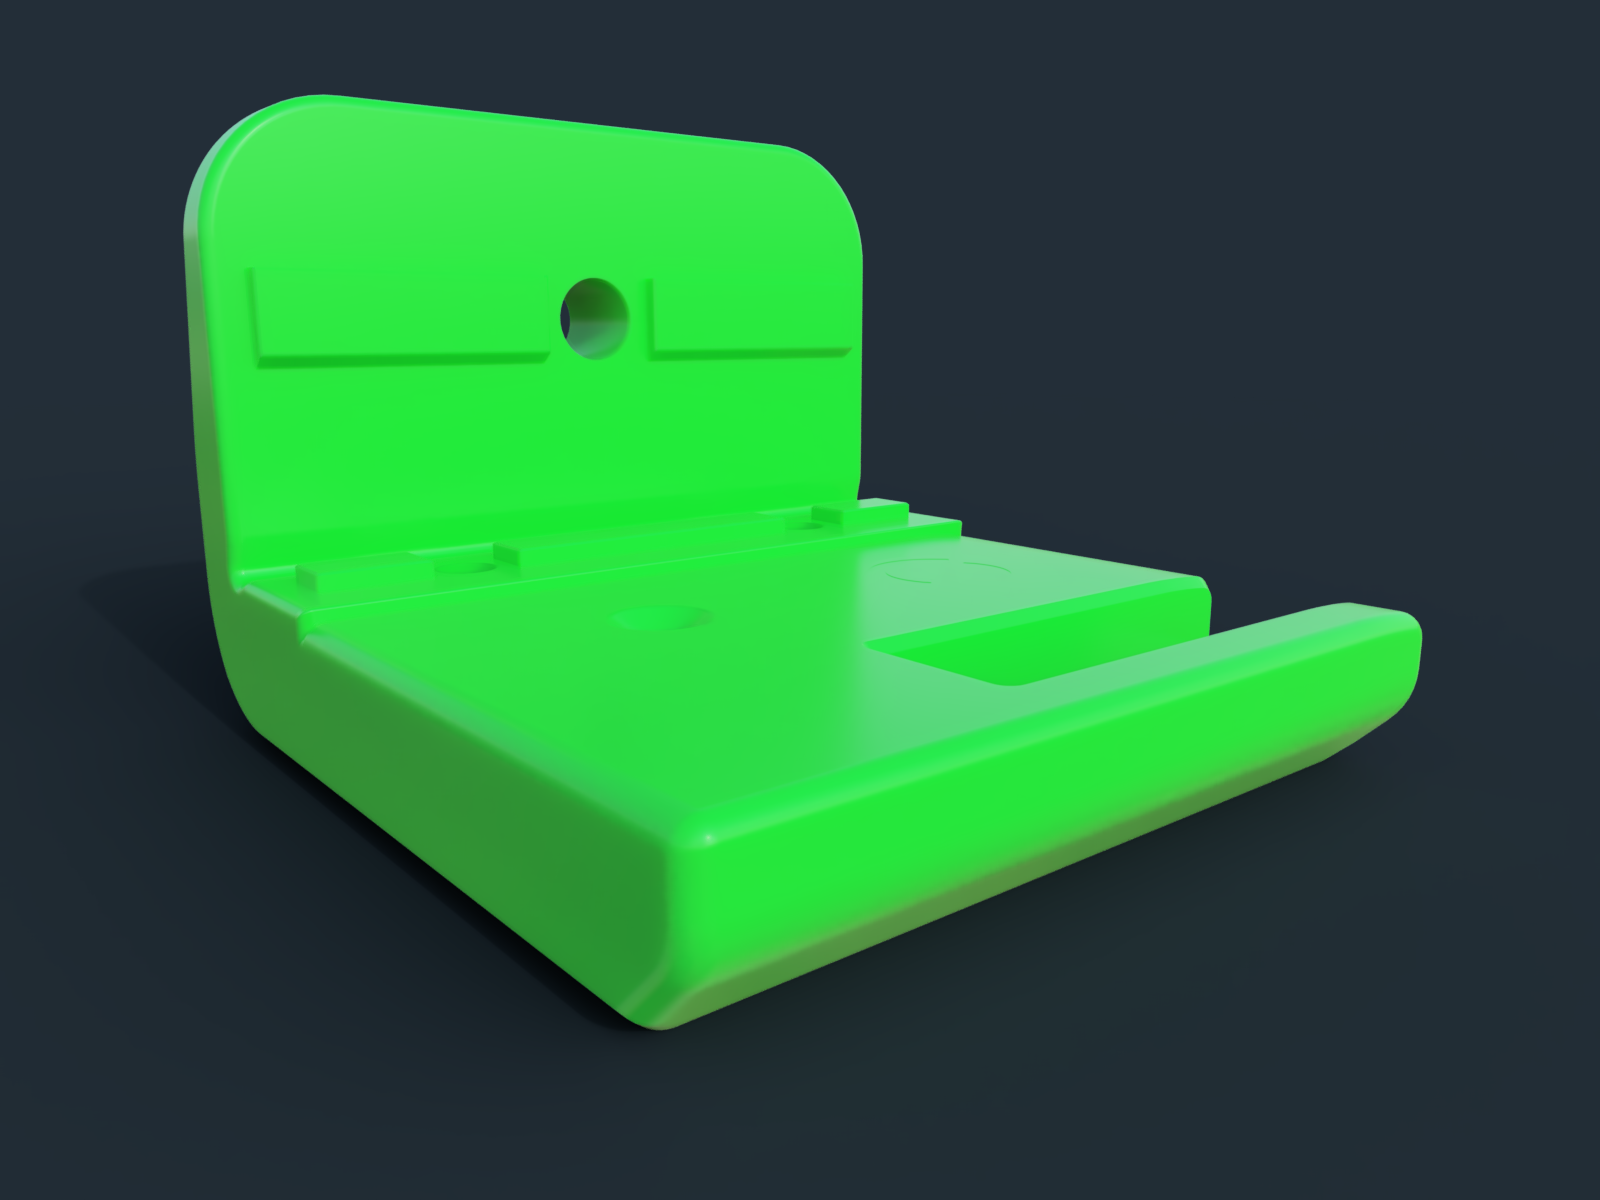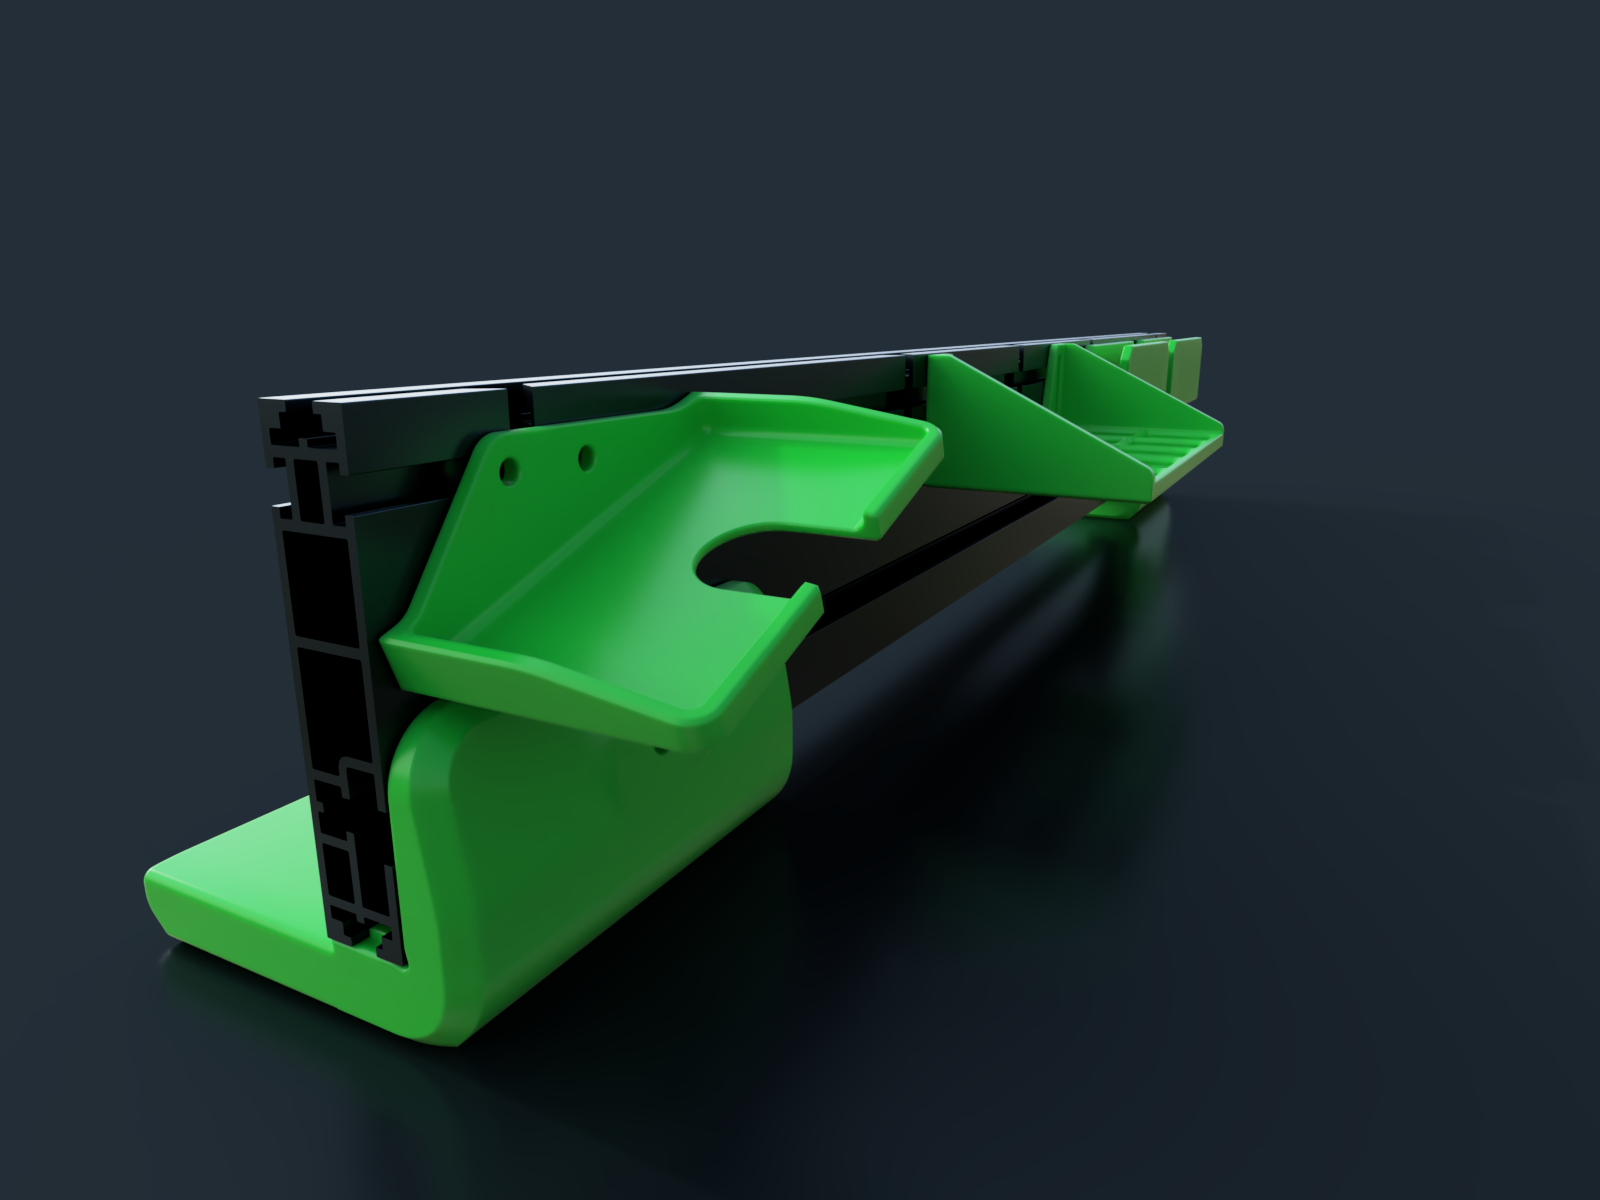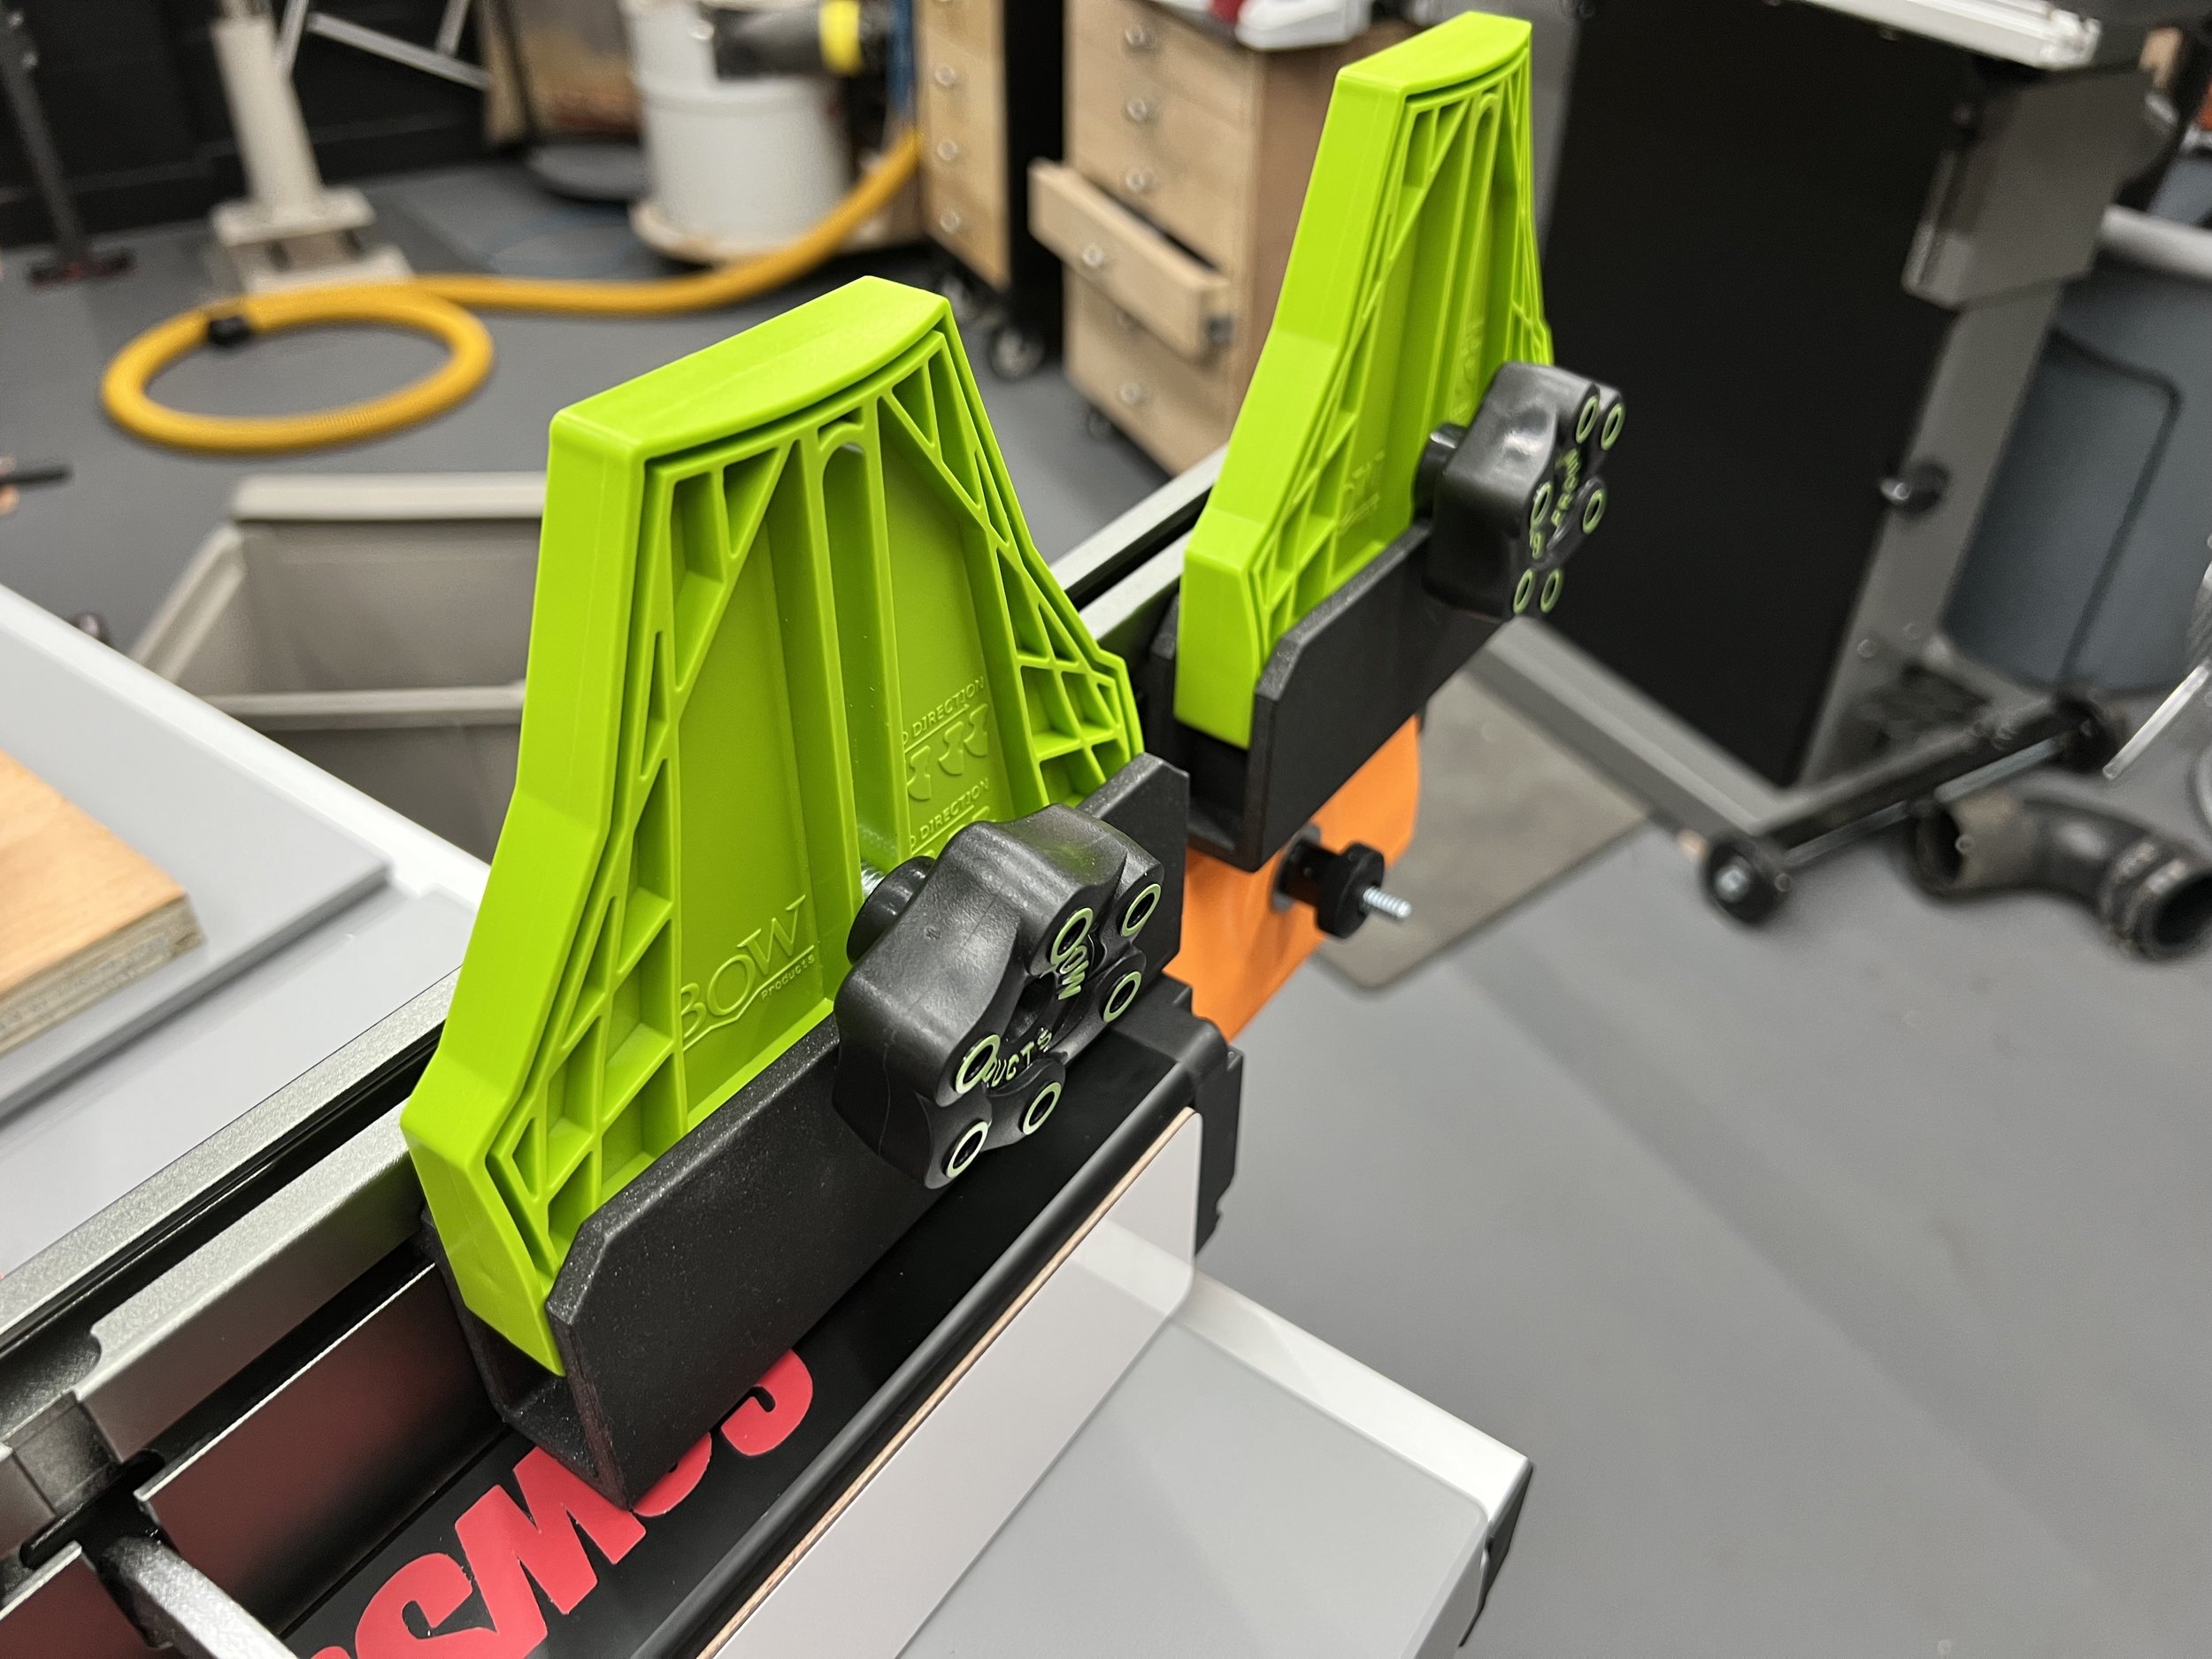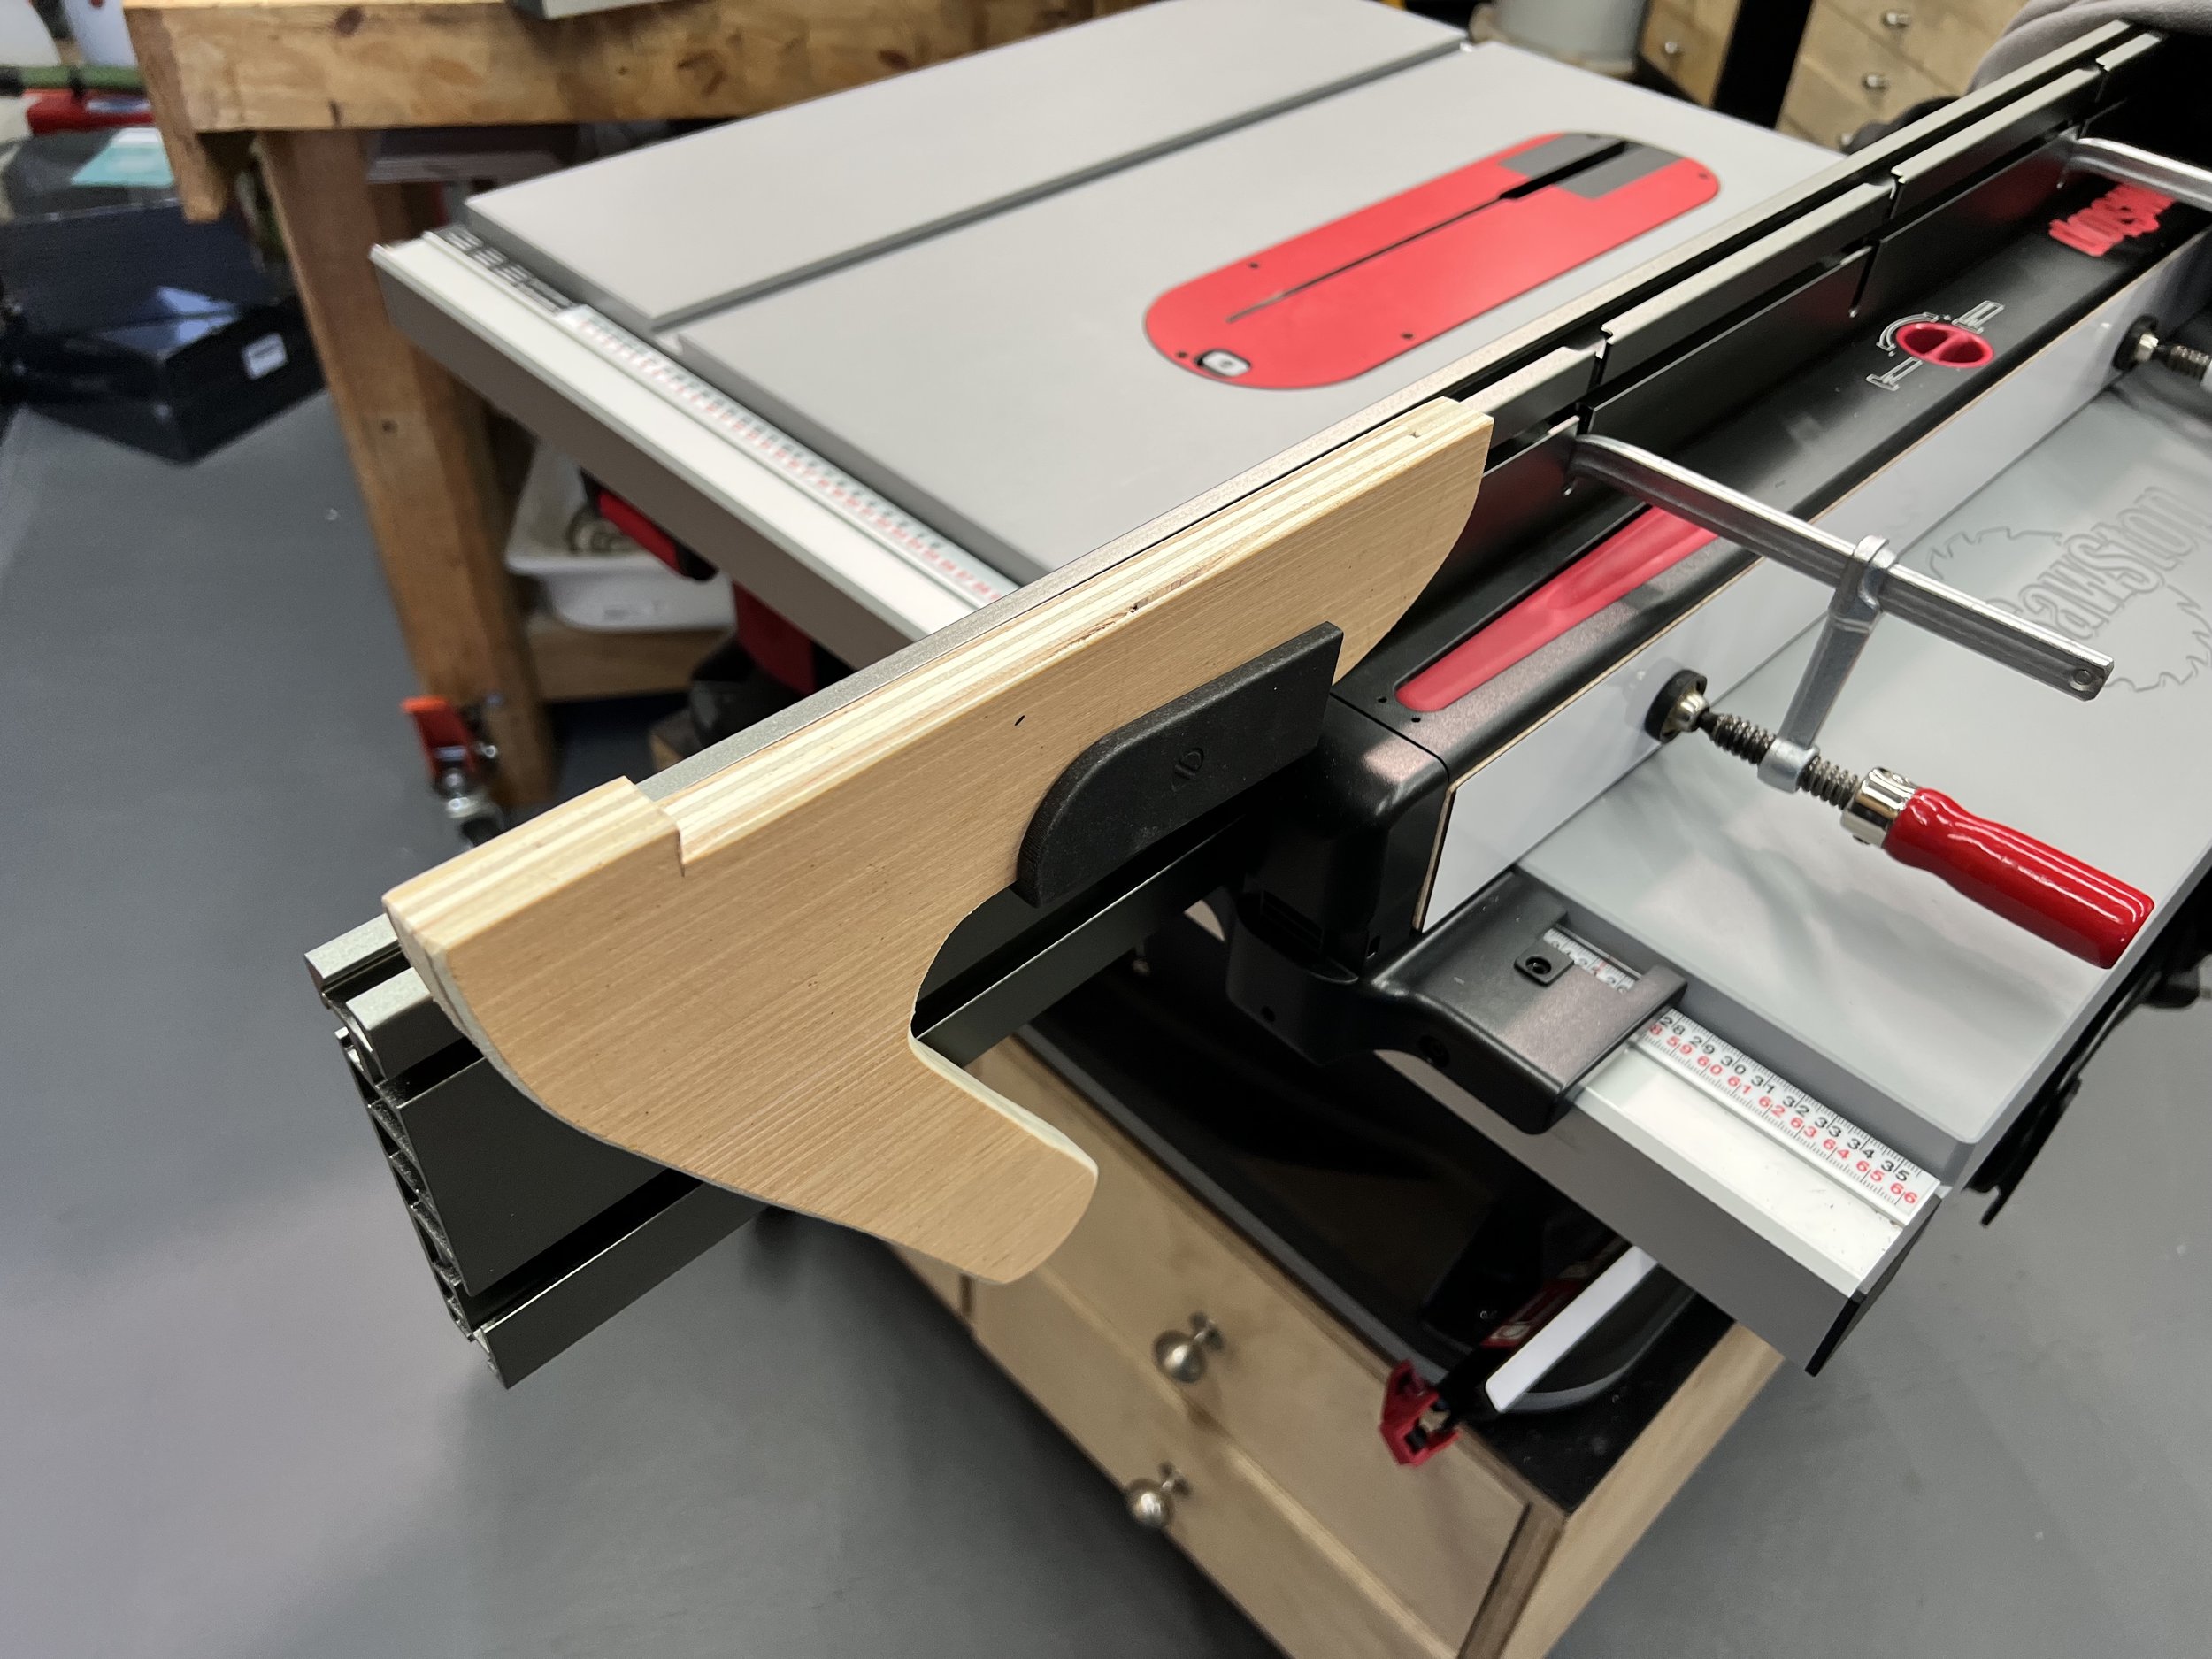


Mounting
No hardware is required these slide in to the slot on the rear of the Bow Xtender fence.
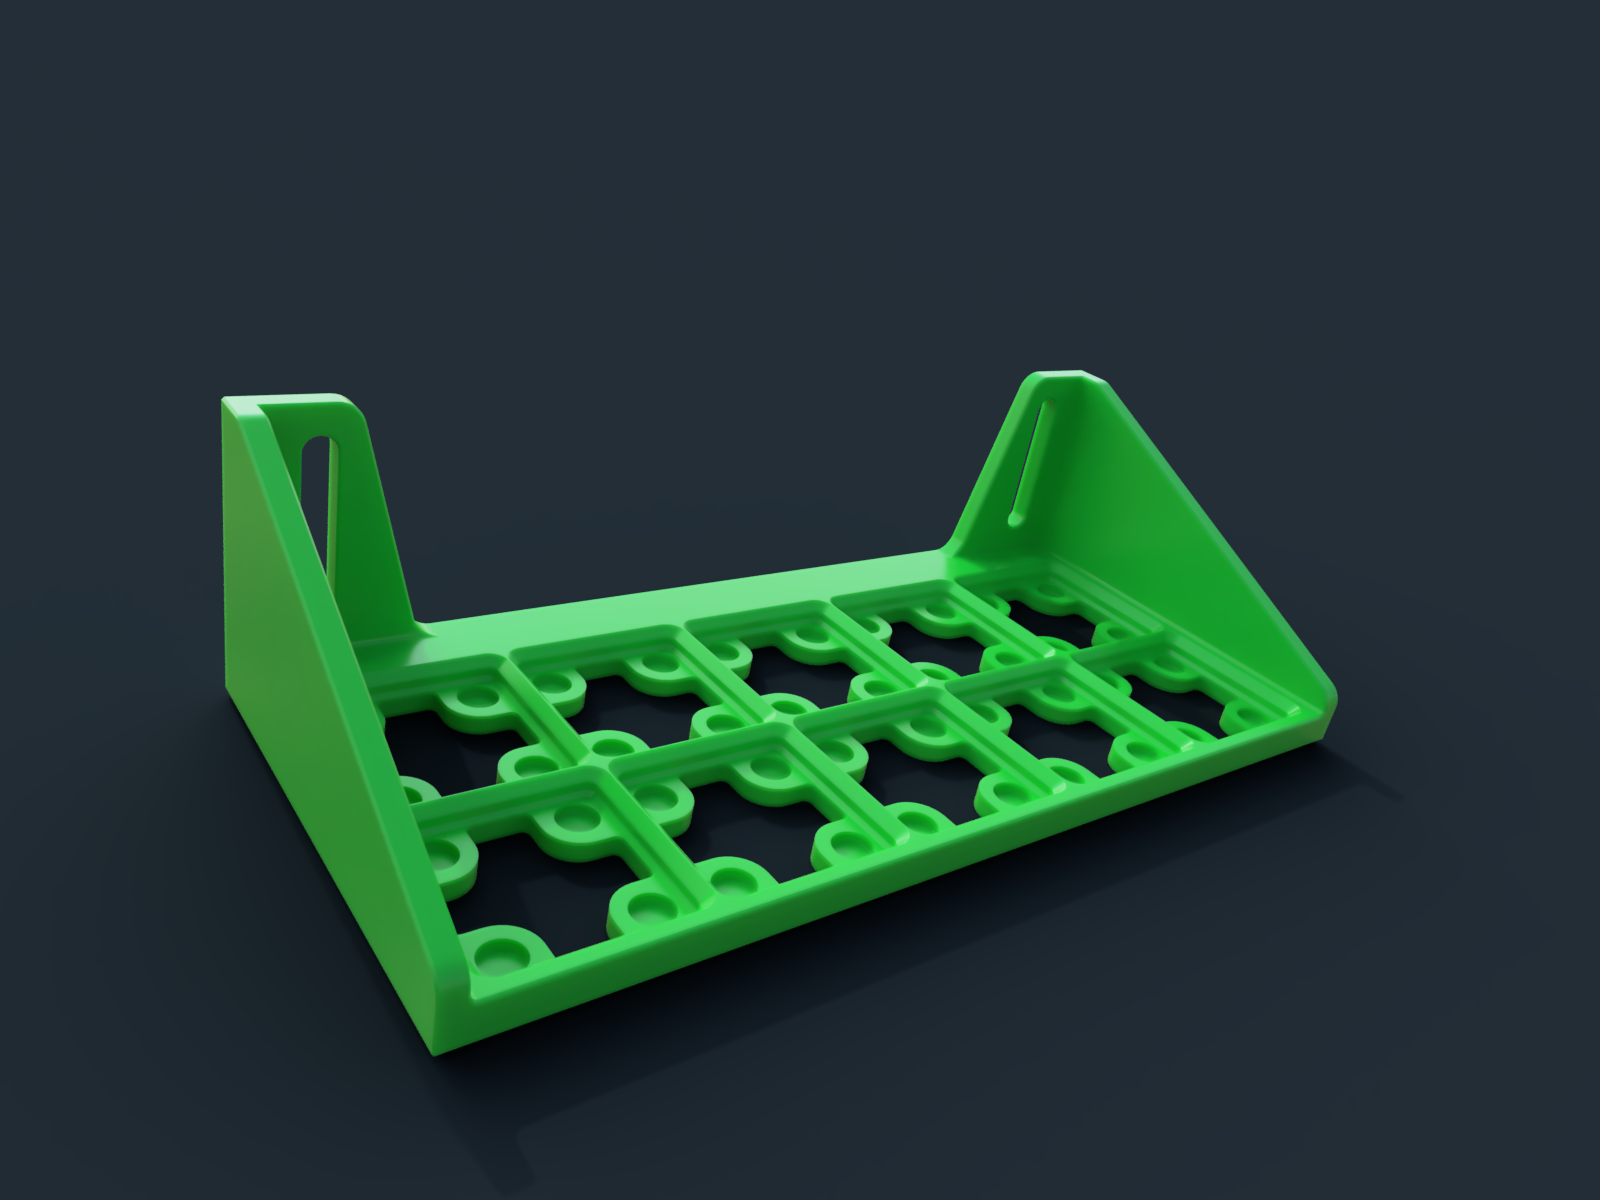
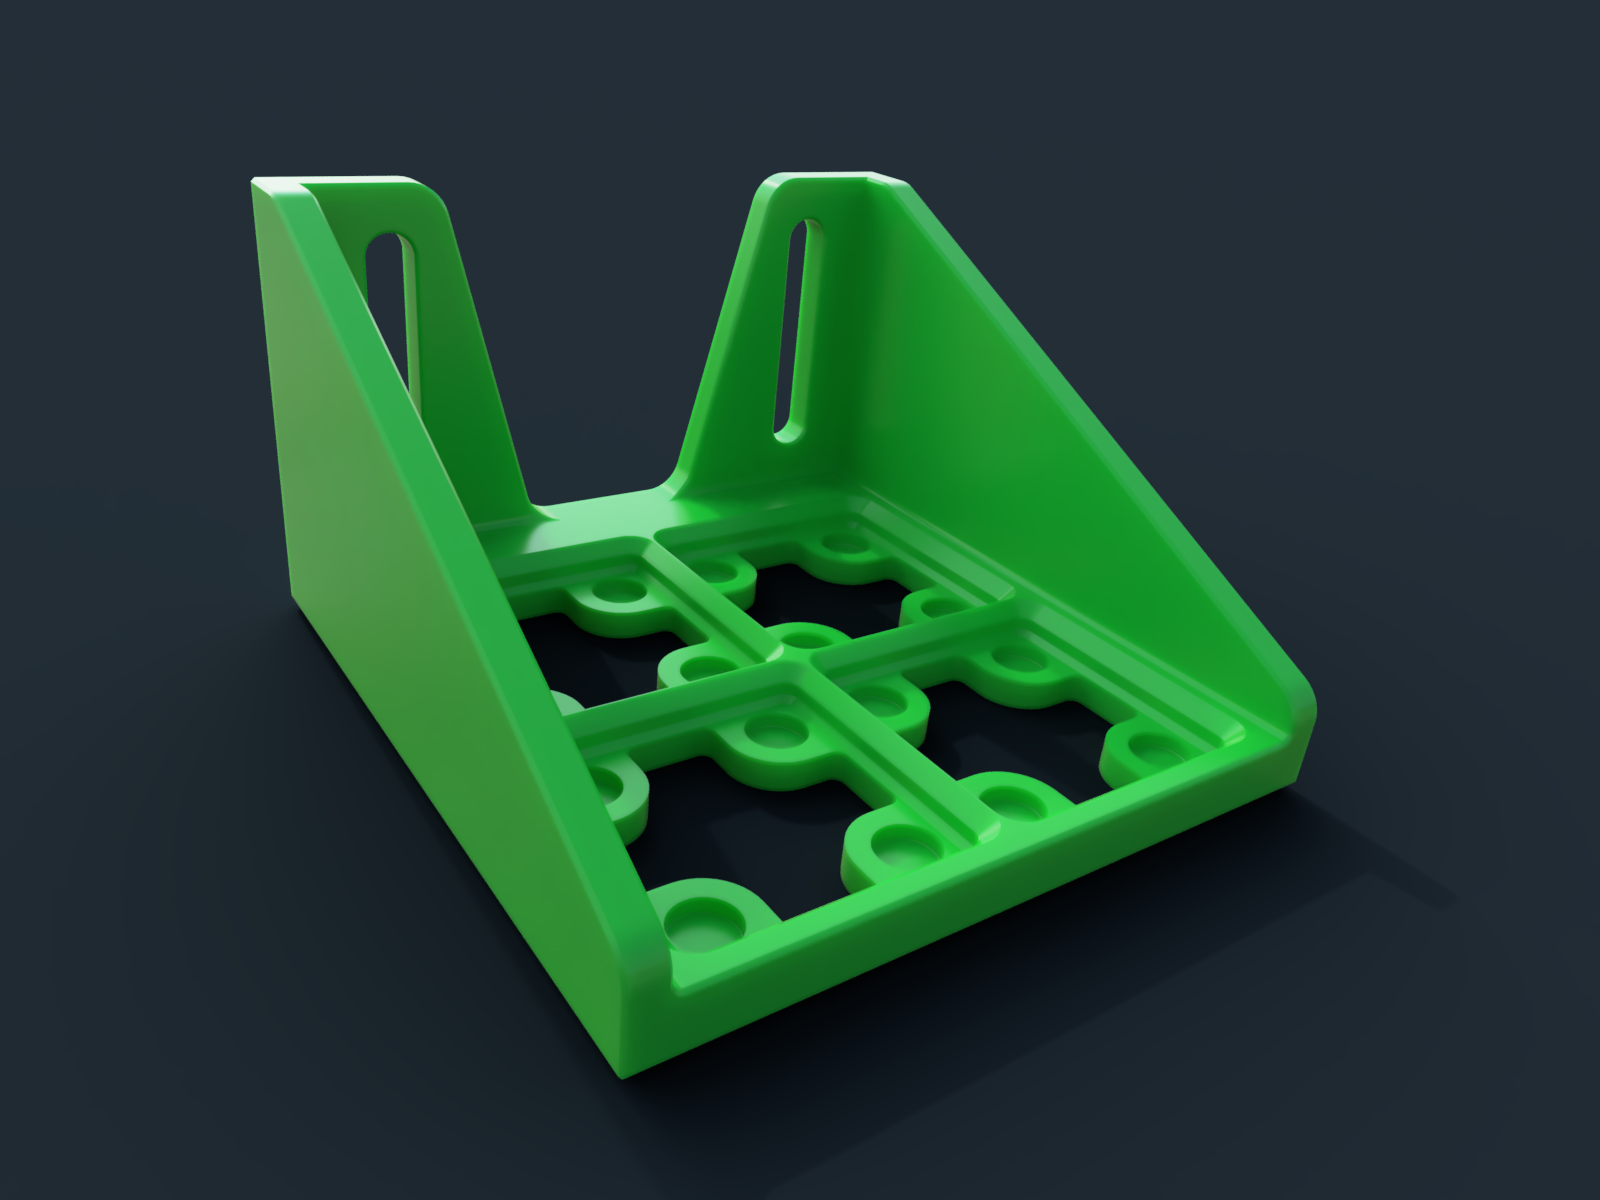
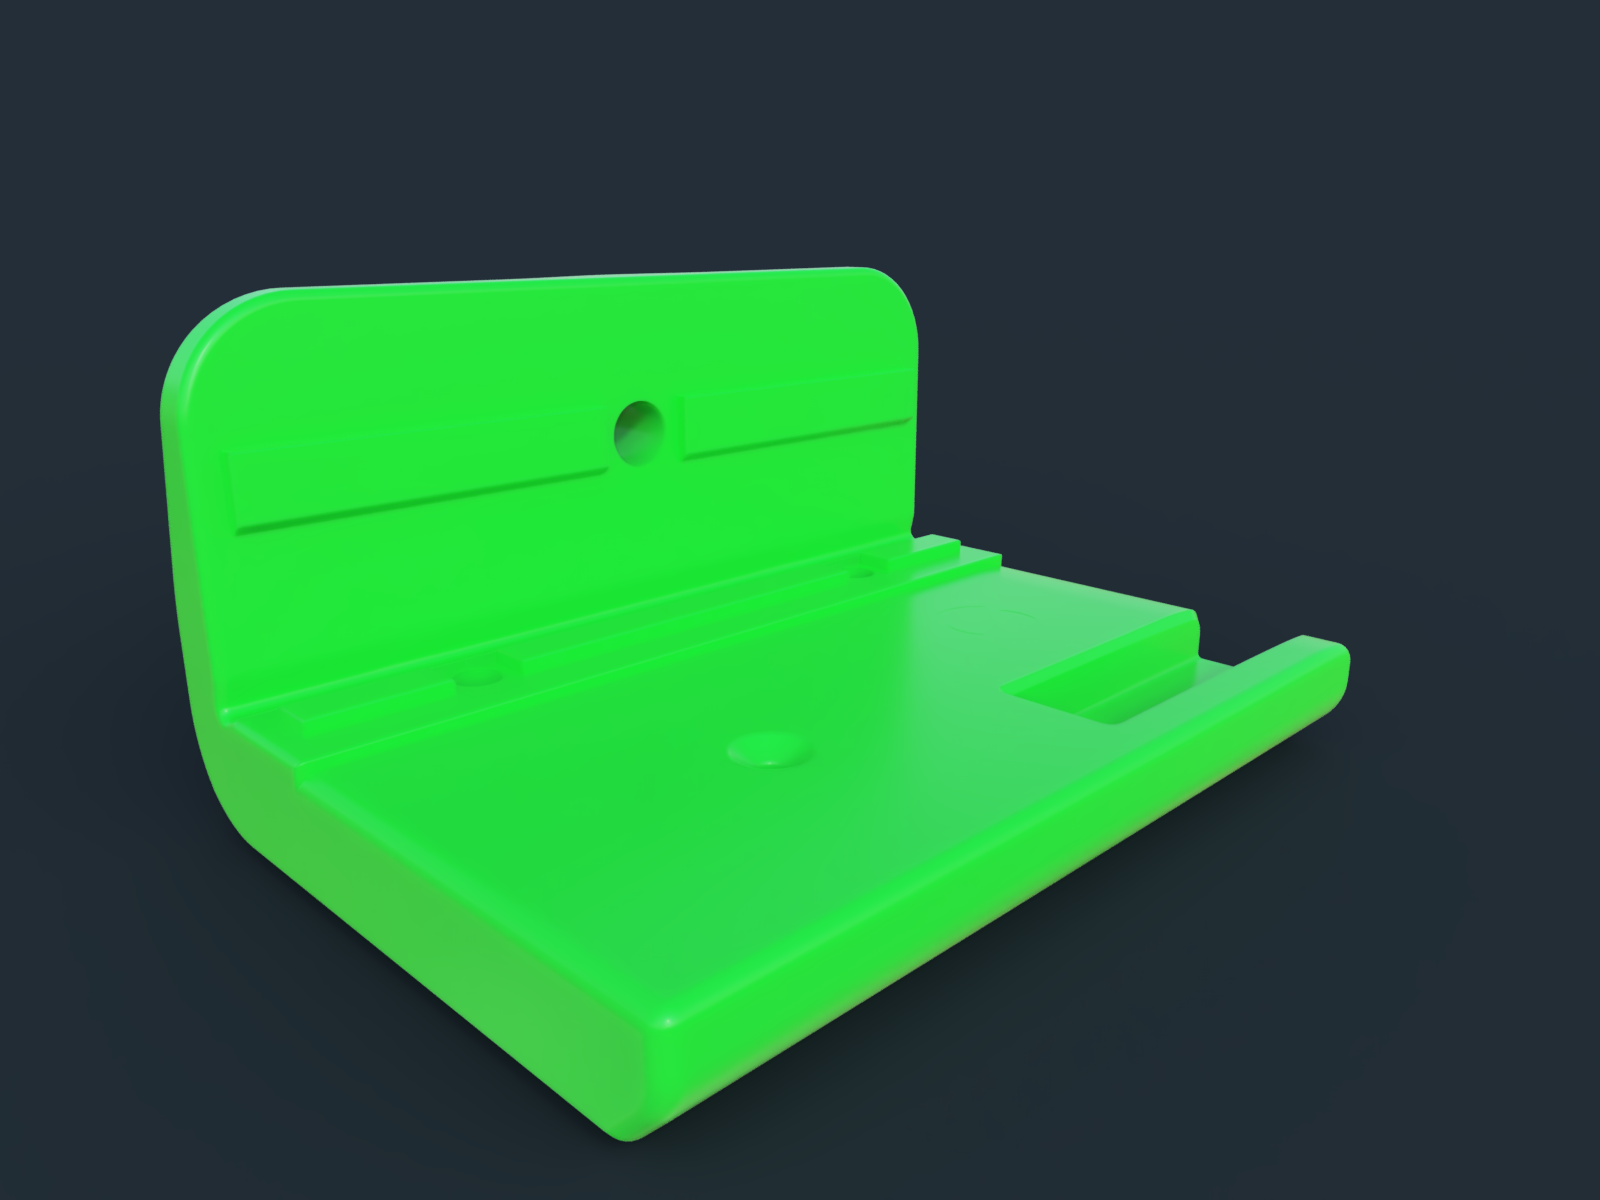
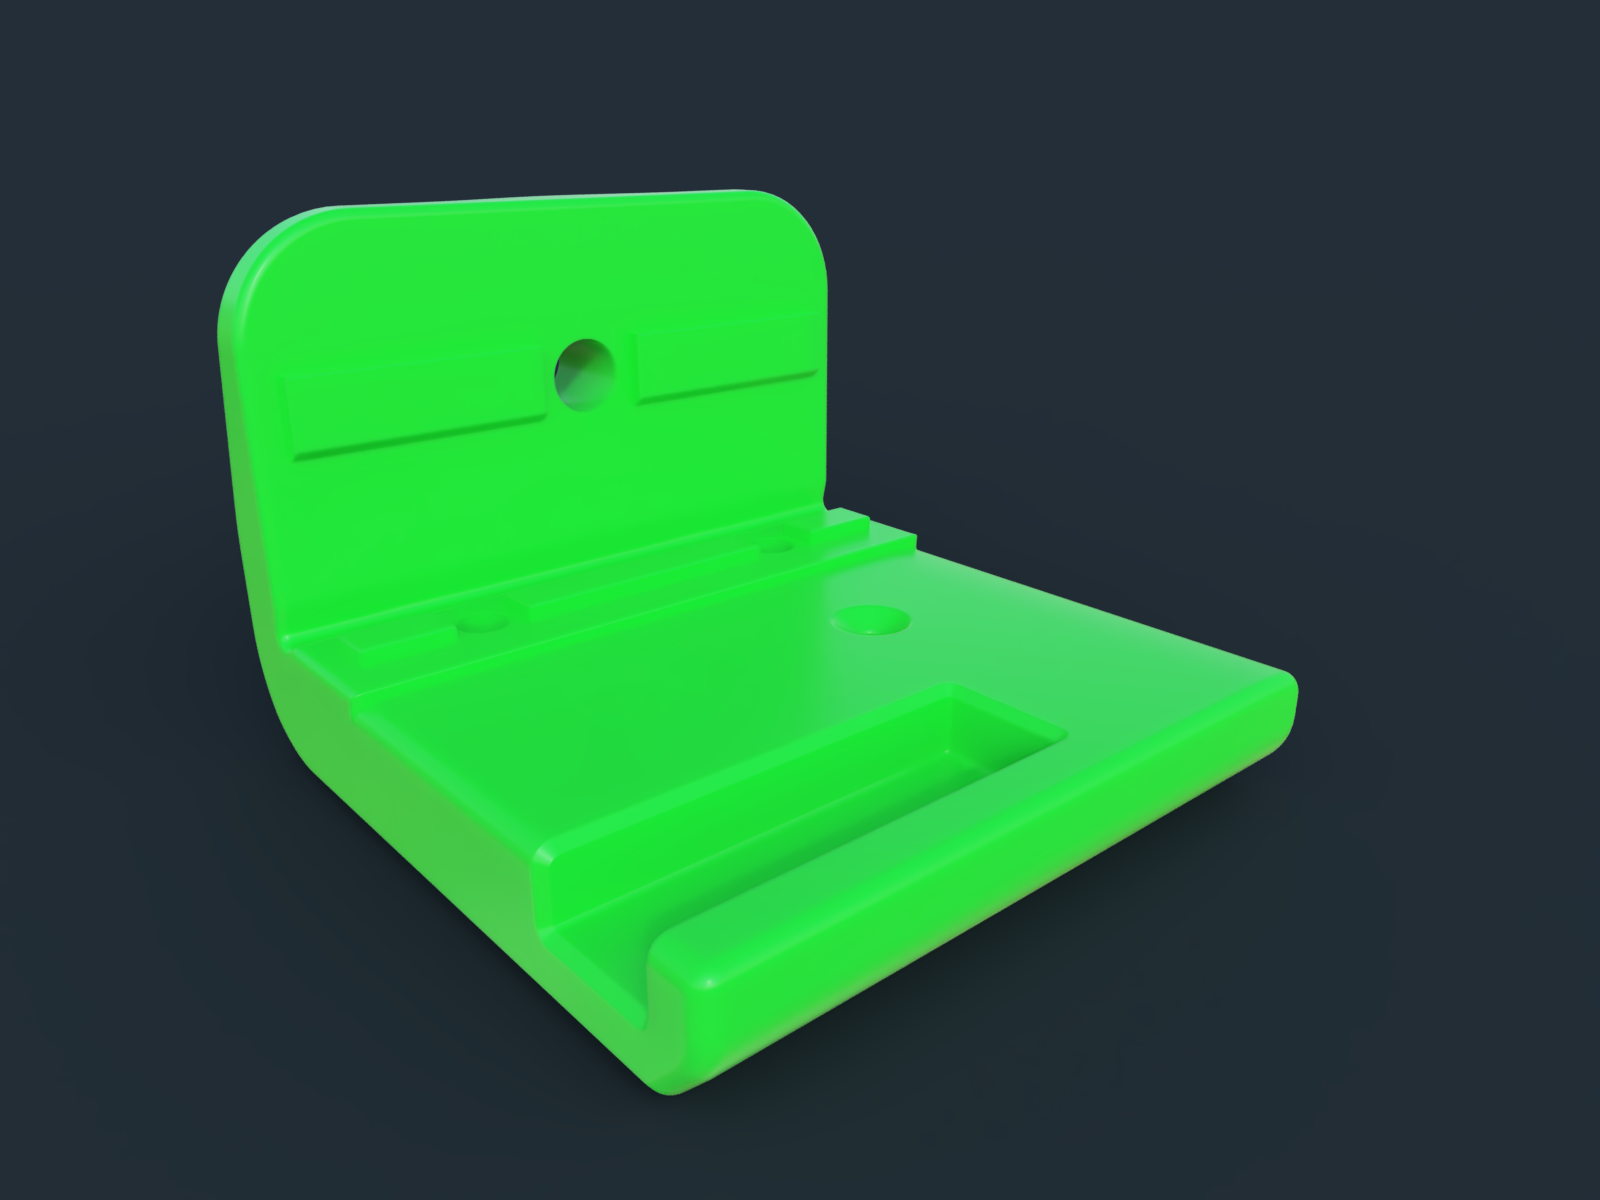
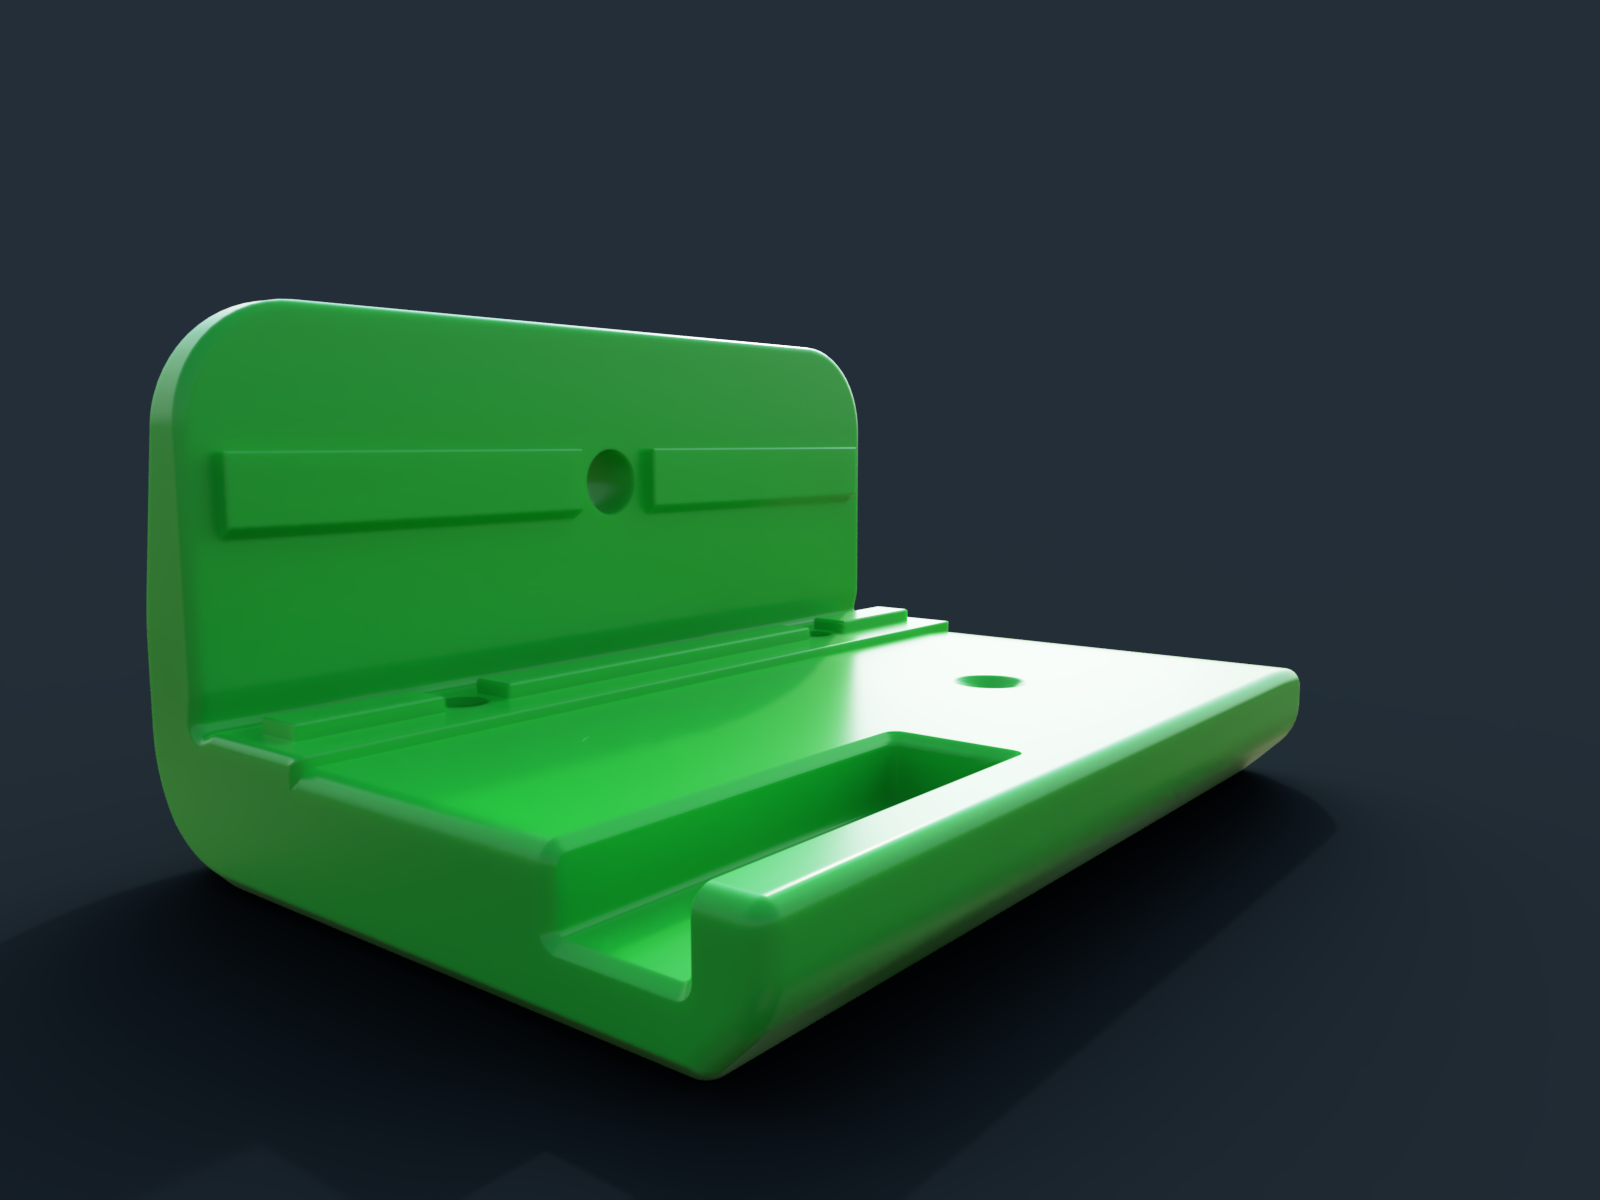
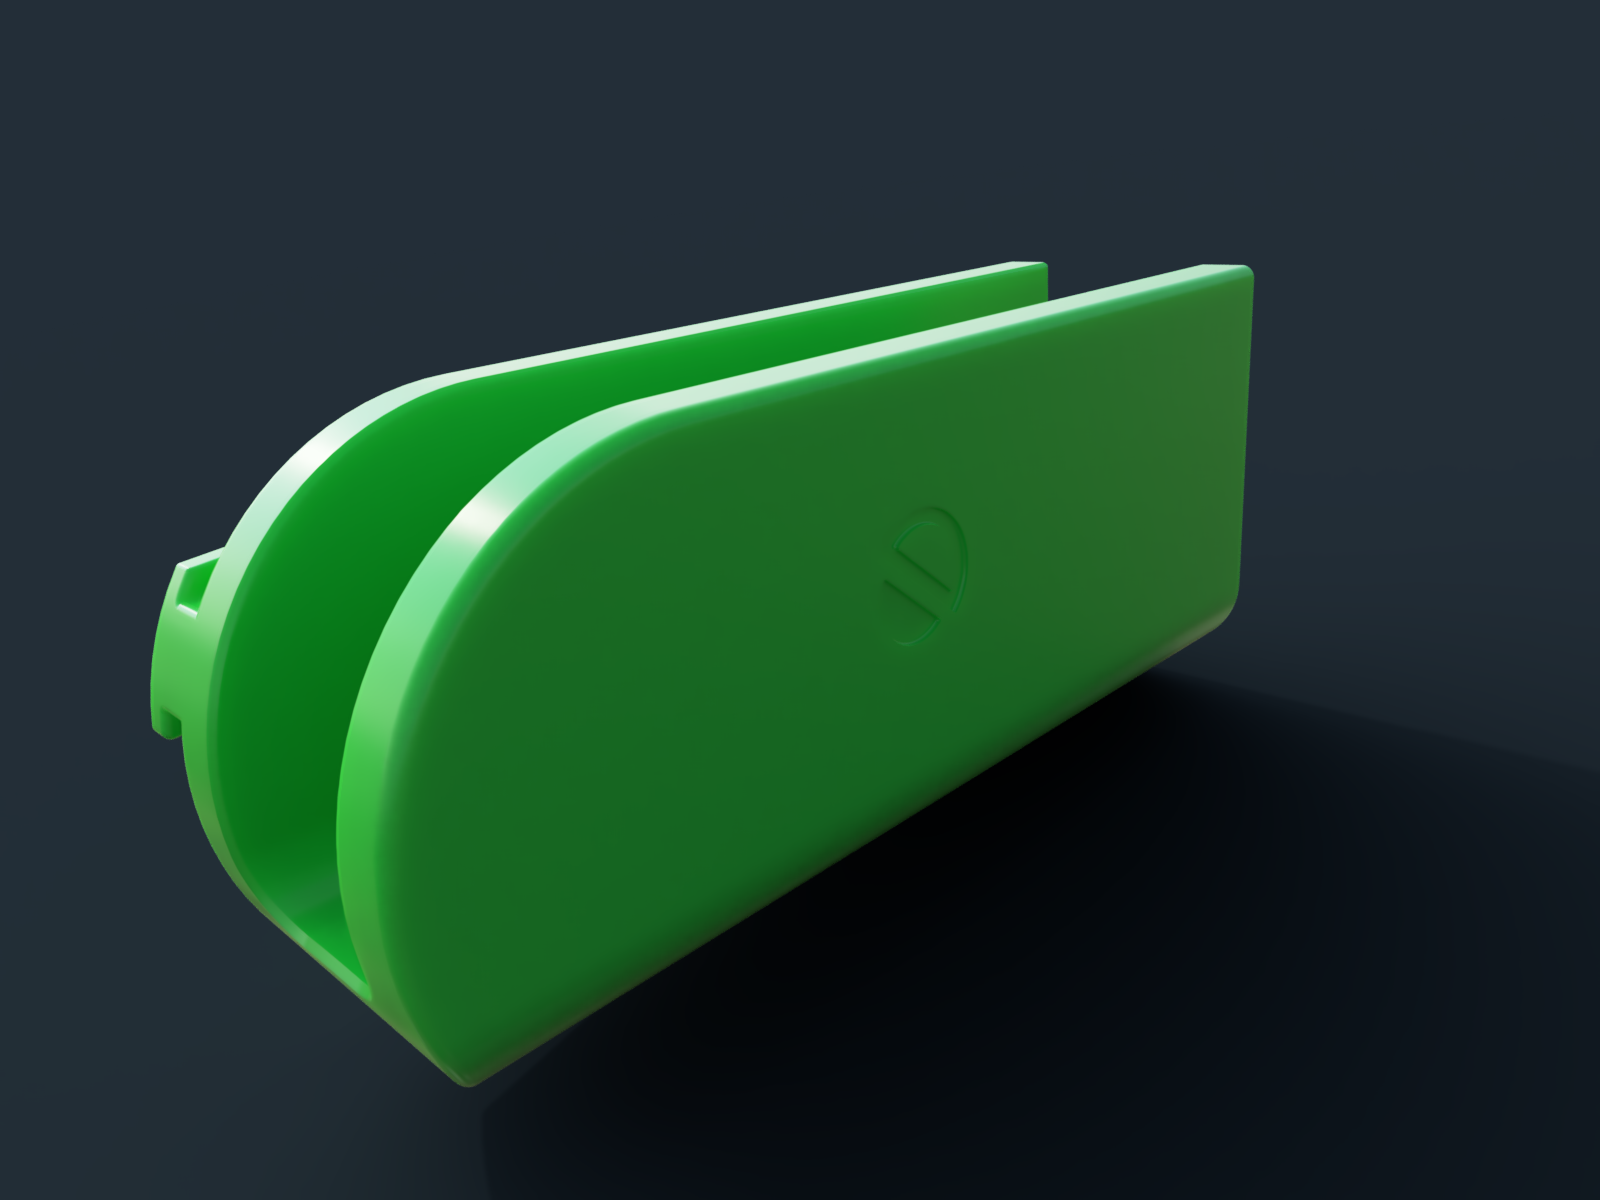
Printing STL files
Print up on one end
Use 3 wall permitters in your slicer settings
For added bed adhesion use a 5mm brim.
No supports are required when printing
You will need to print one for each feather board.
Choose the right STL for the size Bow Xtender fence you have.
Watch the video here: ###################
Get the Bow PushPRO Push Sticks here:
UK - Bow PushPRO Push Stick: https://amzn.to/4hDAZWy
UK - Bow PushPRO Mini Push Stick: https://amzn.to/42HmNHV
UK - Bow PushPRO Push Stick Replacement Tips: https://amzn.to/4hKopoH
USA - Bow PushPRO Push Stick: https://amzn.to/4aMXI01
USA - Bow PushPRO Mini Push Stick: https://amzn.to/3WKiLuu
USA - Bow PushPRO Push Stick Replacement Tips: https://amzn.to/3WLkJeg
This video is part one of two explaining the Bow XT Xtender fence upgrades. Part two will include upgrades that work for the Bow Xt Xtender fence and the DIY tablesaw fence system from my last video.